Best Roof for Solar: What Homeowners Should Choose
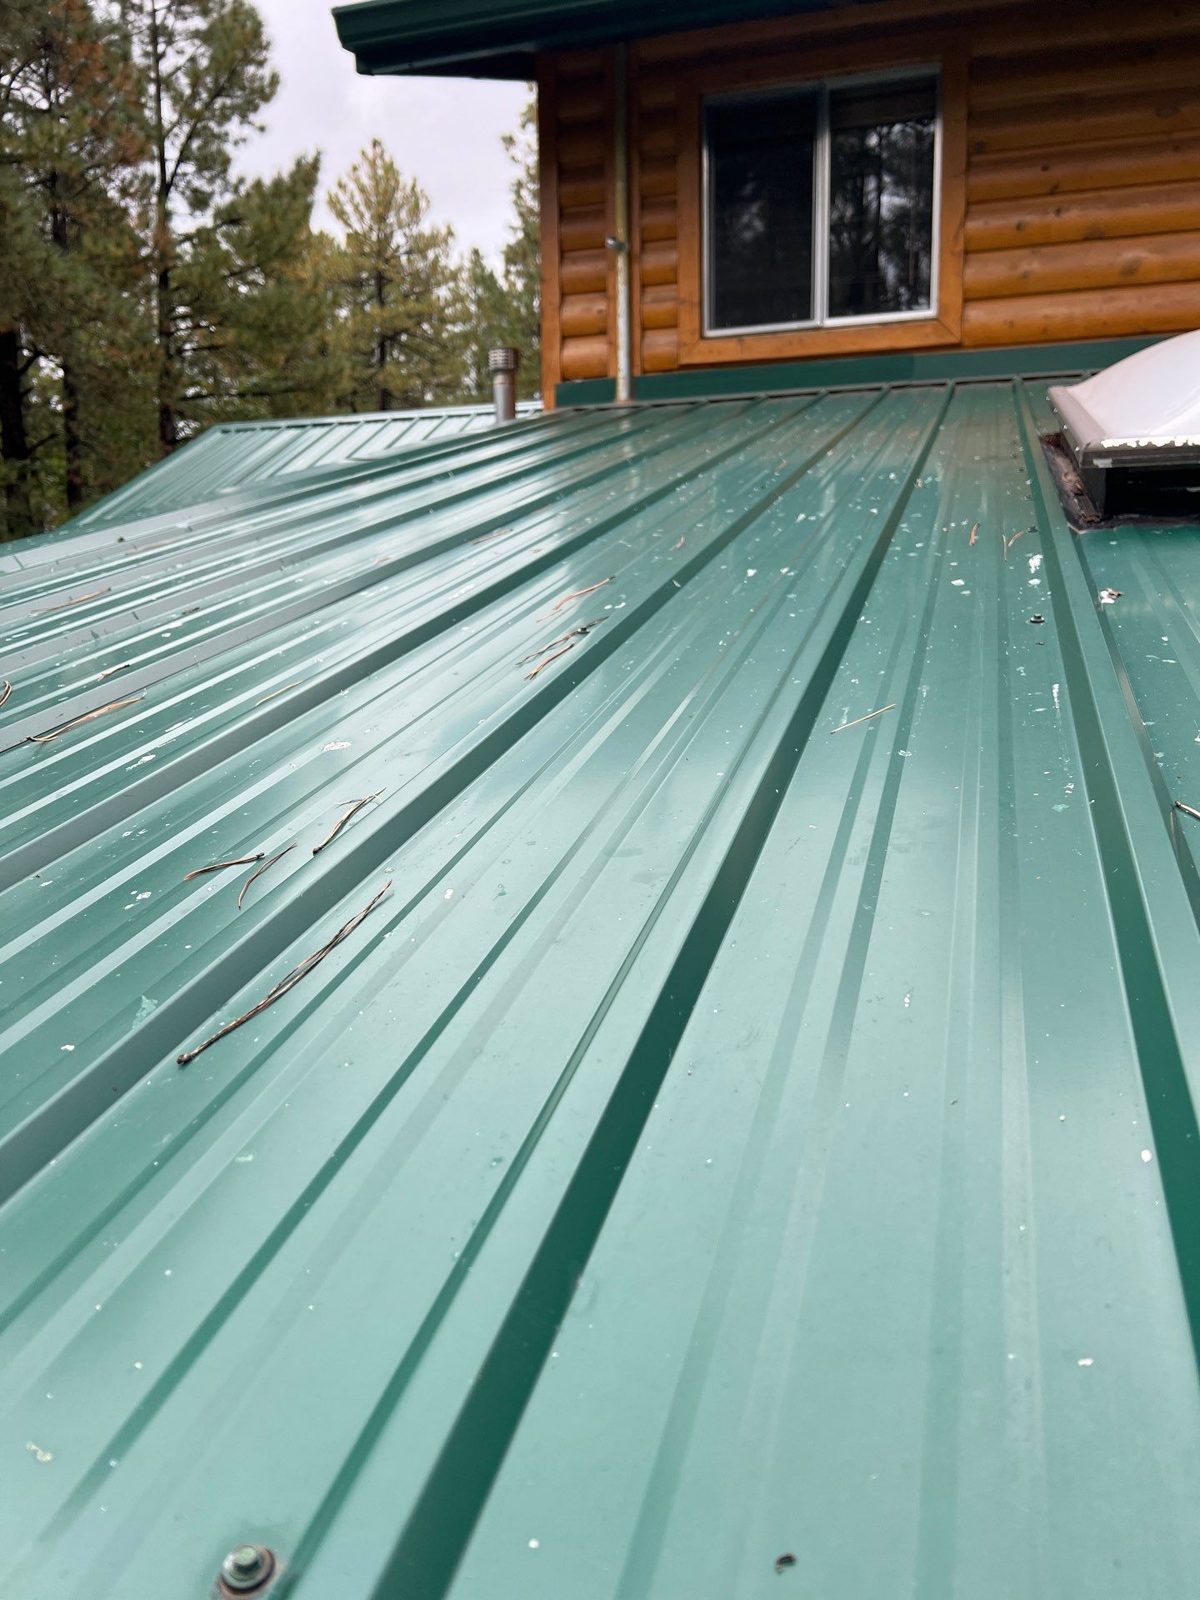
Standing-seam metal is the best roof for solar panels when you’re thinking long-term. It lasts several decades, outliving most solar panel warranties by a significant margin, and uses clamp-based mounts that never puncture the roof surface. Asphalt shingles are the practical, cost-effective alternative for most American homes today — widely compatible, installer-friendly, and lower upfront cost, though they carry a hidden risk: you may need to remove and reinstall your panels mid-system life.
Before you call a solar installer, check three things first:
- Remaining roof life. Aim for at least 15 years of remaining roof life before committing to a rooftop array. Less than that, and a reroof now can save you the $3,000–$7,000 removal/reinstall costs later.
- Usable unshaded area and orientation. South-facing planes with minimal shade are the priority. A shading analysis (TSRF score) tells you whether your roof can actually produce what a solar quote promises.
- Material and mounting compatibility. Not every roof type accepts standard racking. Tile, slate, and corrugated metal each require specialty hardware and experienced installers.
If your roof is under 15 years old and south-facing with good sun exposure, you’re likely ready to get solar quotes. If it’s older or heavily shaded, read the sections below before signing anything.
Table of Contents
- How different roofing materials compare for solar
- How orientation, slope, and shading actually affect your solar output
- When should you replace the roof before installing solar?
- How solar racking attaches to different roof types
- The real cost comparison: reroof now vs. install now vs. combined
- What to do when your roof isn’t a good solar candidate
- How Sladeroof evaluates and prepares roofs for solar
- Key Takeaways
- The mistake most homeowners make when going solar
- Sladeroof makes your roof solar-ready before the panels go up
- Useful sources for deeper research
How different roofing materials compare for solar
The material your roof is made of affects installation cost, mounting method, long-term leak risk, and whether you’ll face an expensive panel removal before the system pays off. Here’s how the main options stack up.
| Roof Material | Typical Lifespan | Mounting Method | Solar Compatibility | Approx. Replacement Cost |
|---|---|---|---|---|
| Standing-seam metal | 40–70 years | Non-penetrating clamps (S-5!) | Excellent | premium cost range |
| Other metal (corrugated) | 30–45 years | Specialty brackets, some penetrations | Good with right hardware | — |
| Asphalt shingles | 12–20 years (harsh climates) | Flashed lag bolts | Good — most common | $3,000–$7,000 |
| Clay/concrete tile | multiple decades | Tile hooks or replacement tiles | Workable, adds 10–20% labor | — |
| Slate | — | Specialty slate hooks | Difficult, installer-dependent | — |
| Flat/low-slope membrane | 15–30 years | Ballasted racks or adhered mounts | Common in commercial | — |
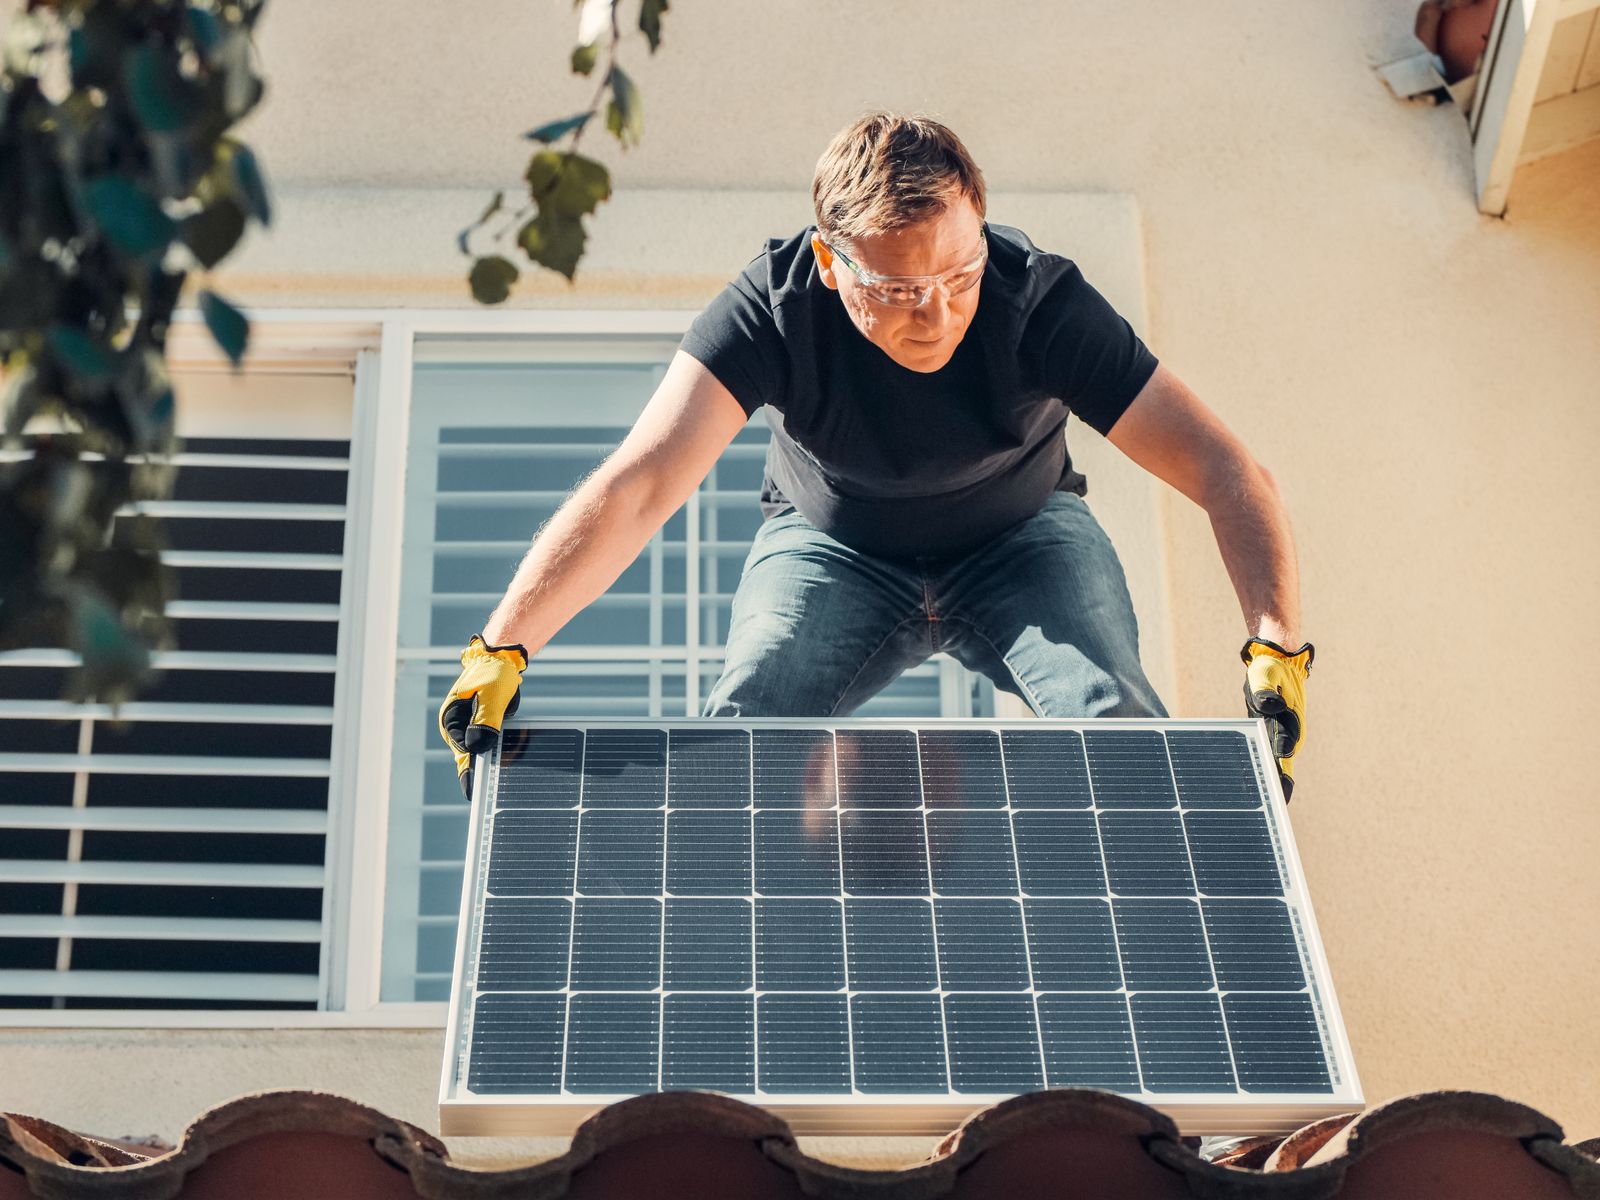
Standing-seam metal is the gold standard. S-5! clamp systems attach directly to the seam without drilling a single hole into the roof field, which preserves the manufacturer’s leak warranty and eliminates the most common failure point in rooftop solar: a poorly sealed penetration. The PVKIT rail-less system also reduces component count and install time, which matters when you’re coordinating a multi-trade project.
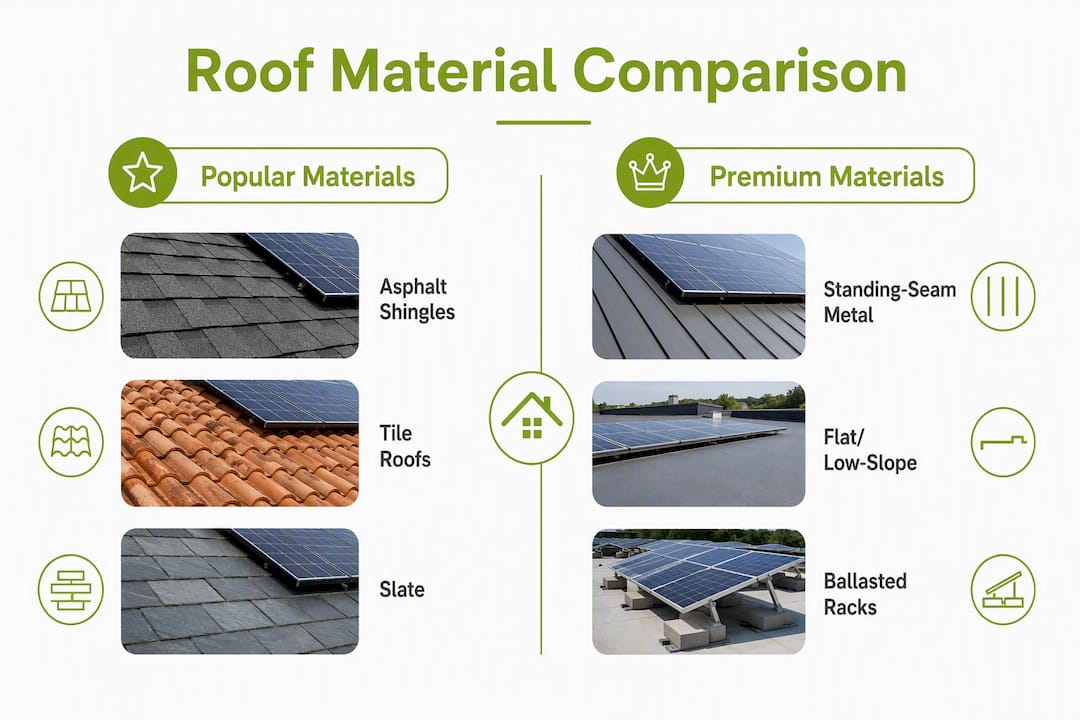
Asphalt shingles are where most residential solar gets installed in the U.S., and for good reason. Standard flashed lag-bolt mounting is well understood, installers are plentiful, and upfront costs are lower. The catch is lifespan: asphalt often runs 12–20 years in harsher climates, which means a 25-year solar system will almost certainly outlive the roof underneath it. That removal and reinstall bill — typically $3,000–$7,000 — is the single hidden cost most homeowners don’t factor in when comparing quotes.
Tile roofs (clay or concrete) are workable but add complexity. Tile requires hooks or tile-replacement mounts, and installers typically charge a 10–20% labor premium because broken tiles during installation are a real risk. Tile itself has a multi-decade lifespan, so the lifespan math works — you just need an installer with documented tile experience.
Slate lasts longer than almost anything else, but it’s brittle, expensive to work on, and requires a specialist. Most general solar installers won’t touch it. If you have slate, get a dedicated slate roofing contractor involved before any solar work begins.
Flat and low-slope roofs use ballasted racks or tilted frames that avoid penetrations but require careful attention to drainage and wind loading. They’re common in commercial settings and work well for urban homes with flat sections, though tilted racks increase row spacing requirements and can reduce total panel count.
A critical lifespan note: most solar panels carry 25–30 year performance warranties. If your roof has fewer than 15 years left, the economics of installing now and reroofing later almost never pencil out once you add that removal/reinstall cost.
How orientation, slope, and shading actually affect your solar output
Most homeowners obsess over roof pitch. Shading is what actually kills production.
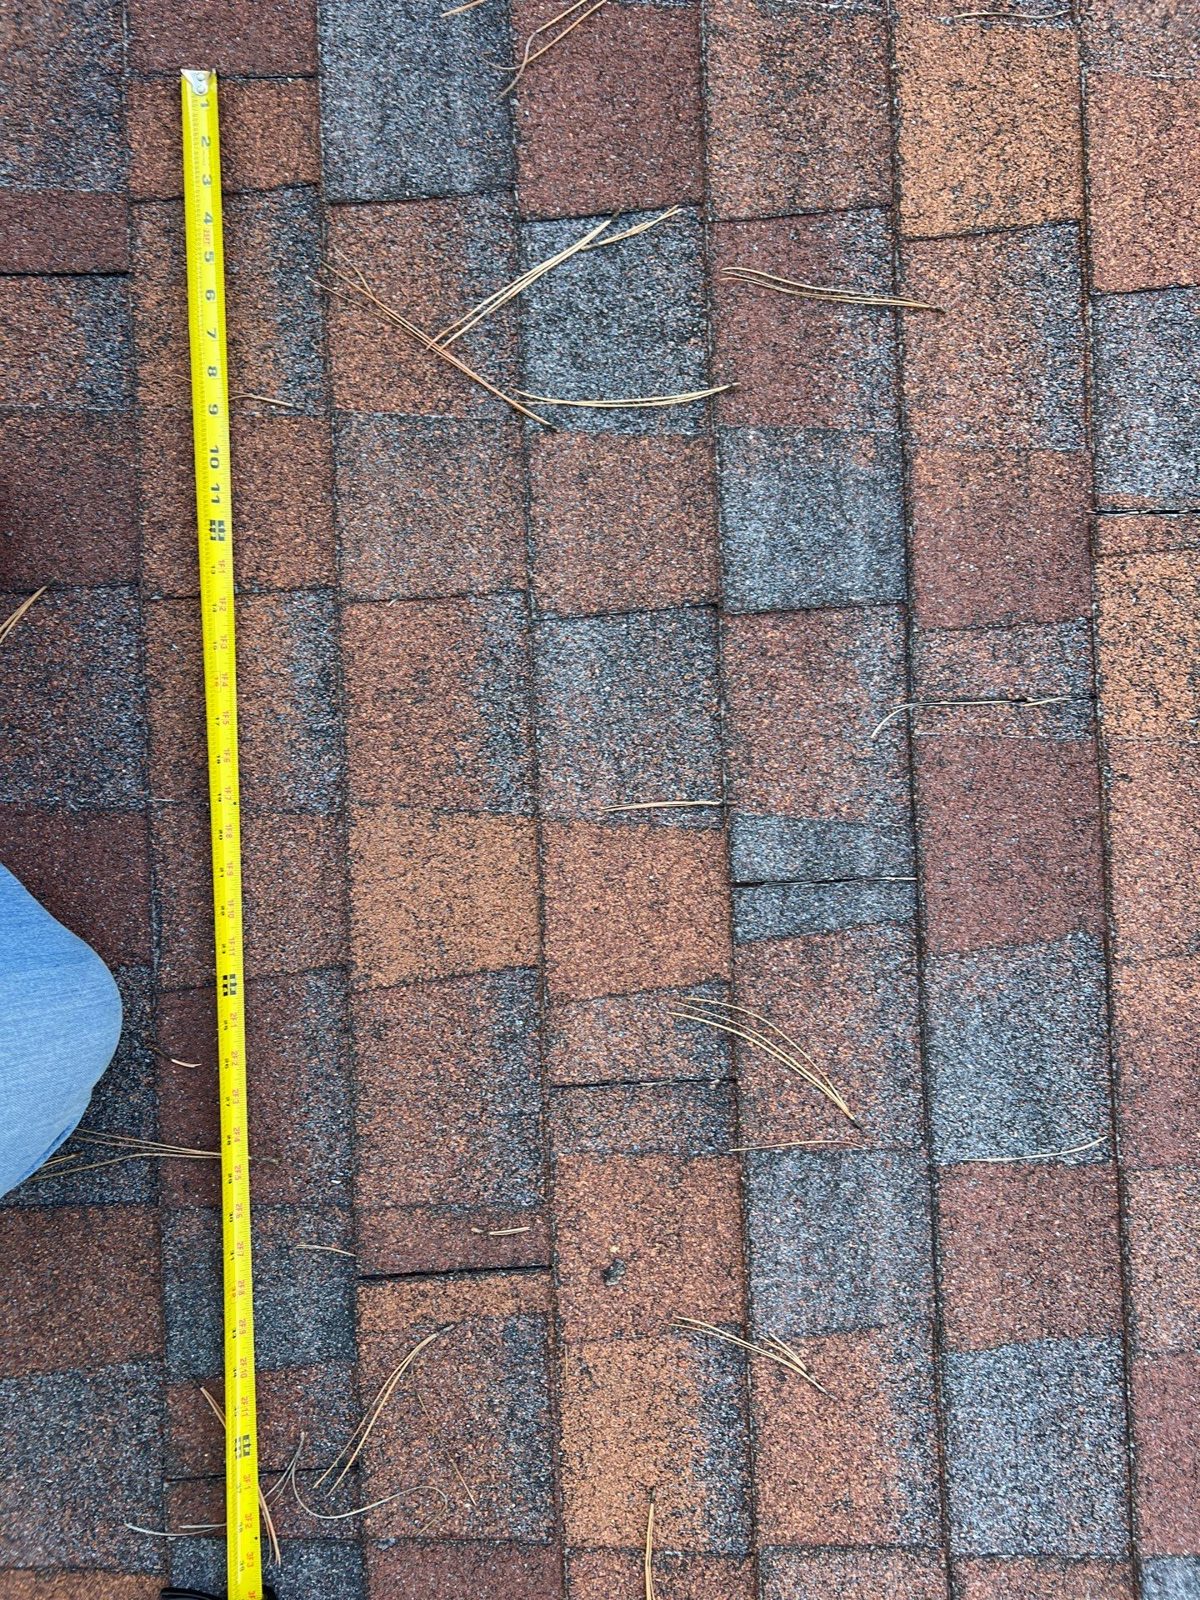
The priority order matters here. Shading is the single biggest cause of underperforming residential solar systems. A TSRF score (Total Solar Resource Fraction) of 90 or above is excellent; lower scores can indicate less economical rooftop solar without tree removal or switching to a ground-mount. Orientation comes second: south-facing is ideal, but southwest and southeast planes typically lose only 5–10% of annual production compared to true south. Pitch comes third and is the most forgiving factor.
The U.S. Department of Energy’s solar design guidance confirms that pitch between roughly 15° and 45° produces acceptable output across most U.S. latitudes, with the optimal angle close to your local latitude. A 4/12 pitch in Idaho (roughly 18°) and a 6/12 pitch in Arizona (roughly 27°) are both workable. Flat is less ideal but fixable with tilted racking.
Roof color and thermal performance matter more in hot climates than most installers mention. Solar panels lose efficiency as they heat up, and a dark roof in Phoenix absorbs and radiates more heat to the panel underside than a cool-roof membrane. The temperature coefficient for most crystalline silicon panels runs around -0.3% to -0.4% per degree Celsius above 25°C. In practice, this rarely changes the system-sizing decision, but it’s worth noting when choosing between a dark and a light membrane on a flat roof.
Quick assessment checklist before your site visit:
- Order a TSRF or Solmetric SunEye shading analysis — ask your installer to provide one before any contract is signed
- Identify the largest unobstructed south, southwest, or southeast-facing plane on your roof
- Note any dormers, chimneys, or HVAC equipment that create self-shading; complex roof geometry increases labor and reduces layout efficiency
- Confirm usable plane area (most residential arrays need at least 300–400 sq ft of clear surface)
- Ask about row spacing if you have a low-pitch or flat section — tilted panels need more room between rows to avoid self-shading
When should you replace the roof before installing solar?
The answer is almost always: sooner than you think.
The 15-year rule is the clearest guideline in the industry. Aim for at least 15 years of remaining roof life before committing to a rooftop array. Asphalt shingles in harsher climates often have only 12–20 years of total life, which means a roof installed in 2010 may already be past the point where adding solar makes sense without a reroof first.
Here’s a practical decision checklist to run through before calling a solar installer:
- Age. How old is the roof? Get the installation date from permits or the previous owner if needed.
- Granule loss. Check gutters for heavy granule accumulation — a sign asphalt is nearing end of life.
- Decking condition. Any soft spots, sagging, or visible rot in the attic means the structure needs attention before adding panel weight.
- Active leaks or staining. Water intrusion anywhere on the roof disqualifies it from solar installation until repaired.
- Flashing condition. Deteriorated flashing around chimneys, vents, and valleys is a leak waiting to happen — especially after solar penetrations are added.
- Ventilation. Panels reduce airflow across the roof surface. Poor attic ventilation before installation gets worse after.
Three timing scenarios and when each makes financial sense:
- Install solar now: Roof is under 10 years old, in good condition, and has 20+ years of remaining life. This is the straightforward case.
- Reroof first, then solar: Roof is 15+ years old or showing the warning signs above. The $3,000–$7,000 removal/reinstall cost you’d pay later almost always exceeds the cost premium of reroofing now, especially if you choose metal.
- Combined reroof + solar package: Some installers offer integrated packages that coordinate both trades. This can be cost-effective, but always request itemized pricing for the roof, racking, electrical, and removal/reinstall terms separately. A bundled quote makes it hard to know what you’re actually paying for each component.
How solar racking attaches to different roof types
The mounting method determines leak risk, warranty preservation, and how much you’ll pay in labor. It also tells you a lot about whether an installer actually knows your roof type.
Attachment methods by material:
- Standing-seam metal: Non-penetrating clamps (S-5! and similar) grip the raised seam mechanically. No holes, no sealant to degrade, no warranty conflicts. This is the cleanest installation in residential solar.
- Asphalt shingles: Flashed lag bolts driven into the rafter. Done correctly with proper flashing and sealant, this is reliable. Done sloppily, it’s the most common source of solar-related roof leaks.
- Tile (clay or concrete): Tile hooks slide under the tile and attach to the batten or deck below, or individual tiles are replaced with purpose-built mounting tiles. Requires an installer who has done it before — tile breakage during installation is a real cost.
- Corrugated metal: Specialty brackets that clamp to the corrugation profile. Hardware varies by panel profile, so confirm the installer has the right bracket for your specific metal.
- Flat membrane: Ballasted racks (weighted with concrete blocks) avoid penetrations entirely but require a structural check for added weight. Adhered mounts bond to the membrane and need careful waterproofing at every attachment point.
Penetrating systems on any roof type carry more long-term leak risk than clamp systems. Standing-seam mounts that avoid roof-field penetrations preserve manufacturer leak warranties and reduce long-term risk compared with dozens or hundreds of small penetrations on shingle or tile roofs.
Questions to ask every installer before signing:
- What is your specific mounting method for my roof type?
- Does your installation preserve my existing roof manufacturer’s warranty?
- What is your resealing strategy for lag-bolt penetrations, and how often should it be inspected?
- Do you carry a PE stamp for structural changes if the panel load requires it?
- What are your exact terms for panel removal and reinstallation if I need to reroof?
Pro Tip: Ask for the installer’s flashing detail drawings before signing. A professional solar contractor should be able to show you exactly how each penetration is waterproofed. If they can’t produce that documentation, treat it as a red flag.
The real cost comparison: reroof now vs. install now vs. combined
The upfront numbers favor asphalt. The lifetime numbers often favor metal.
| Scenario | Installed Cost Range | Removal/Reinstall Risk | Lifetime Consideration |
|---|---|---|---|
| Solar on existing asphalt | $0.30/W difference | High — likely needed within 10–15 years | Add $3,000–$7,000 mid-system |
| Solar on standing-seam metal | — | Very low — metal outlasts panels | Avoided removal cost tips lifetime math |
| Reroof to metal + solar | Higher upfront | Minimal | Best long-term economics for most homes |
| Combined reroof + solar package | Varies — get itemized quotes | Depends on roof chosen | Confirm warranty transfer and PE stamps |
The per-watt cost difference between metal and asphalt solar installations runs roughly $0.30/W, which on a 10kW system is about $3,000. That’s almost exactly what you’d pay for one panel removal and reinstall on an asphalt roof. If your asphalt roof has 10 years left, you’re not saving money by avoiding the metal upgrade — you’re deferring the cost with interest.
The federal Investment Tax Credit (ITC) currently covers 30% of the total solar system cost, including racking and electrical work. It does not cover the roof replacement itself unless the roof work is directly required to support the solar installation — a distinction worth confirming with your tax advisor. Payback periods for residential solar typically run 7–12 years depending on system size, local utility rates, and state incentives. A metal roof that eliminates one removal/reinstall cycle shortens the effective payback by a meaningful margin.
What to do when your roof isn’t a good solar candidate
Sometimes the roof fails the checklist. That doesn’t mean solar is off the table.
- Ground-mounted arrays are the most flexible alternative. You choose the orientation and pitch, avoid roof penetrations entirely, and often achieve better production than a compromised rooftop location. Expect to pay roughly 10–20% more than a comparable rooftop system due to trenching, conduit runs, and foundation work. They work best when you have open land within a reasonable distance of your service panel and no zoning restrictions on ground structures.
- Solar carports make sense where you have a driveway, parking pad, or detached garage with good sun exposure. They double as covered parking and can be sized for EV charging. Cost is higher than a standard ground-mount due to the structural framing.
- Community solar is the lowest-friction option when neither the roof nor the land works. You subscribe to a share of an off-site solar array and receive bill credits. No site work, no permits, no roof involvement. Availability varies by state and utility, but coverage has expanded significantly across the U.S.
- Solar shingles (integrated roofing + solar products) replace the roof surface itself rather than mounting panels on top of it. The aesthetic benefit is real, but cost per watt runs significantly higher than conventional panels, and the installer ecosystem is still limited. They make the most sense for homeowners who need a full roof replacement anyway and place high value on appearance.
Pro Tip: If your TSRF score comes back below 75 and you have usable land, price a ground-mount before spending money on tree removal. In most cases, the ground-mount is cheaper and produces more energy.
How Sladeroof evaluates and prepares roofs for solar
Sladeroof’s approach to solar readiness starts with one principle: the roof and the solar system should be designed to last the same amount of time. Installing a 25-year solar system on a roof with 8 years left isn’t a solar decision — it’s a deferred roofing problem.
Sladeroof brings over 20 years of combined roofing and insurance expertise to every project in Idaho, Arizona, and Wyoming. That dual background matters for solar projects specifically: a roof replacement ahead of solar installation is sometimes partially covered by insurance when storm damage is documented, and Sladeroof’s insurance claim assistance process helps homeowners recover that value before the solar contractor arrives.
Key services relevant to solar readiness:
- New roof installation with solar-ready materials — including impact-resistant options rated for hail and wind, which also protect the solar investment
For homeowners in hail-prone areas of Idaho and Wyoming, impact-resistant roofing materials also protect the solar investment itself — panels mounted on a roof that fails from hail damage mid-system life create a costly, complicated insurance and removal situation.
Key Takeaways
Standing-seam metal is the best long-term roof for solar because it outlasts panels, uses non-penetrating clamps, and eliminates the $3,000–$7,000 removal cost that makes asphalt’s lower upfront price misleading.
| Point | Details |
|---|---|
| Best material for long-term solar | Standing-seam metal lasts 40–70 years and uses non-penetrating clamps that preserve roof warranties. |
| Minimum remaining roof life | Aim for at least 15 years of remaining roof life before installing solar to avoid a $3,000–$7,000 removal and reinstall cost. |
| Shading beats pitch | A TSRF score below 75 makes rooftop solar uneconomical; fix shading or switch to a ground-mount first. |
| Hidden cost to budget | Panel removal and reinstall at reroof time typically costs $3,000–$7,000 — factor this into any asphalt-based quote. |
| Sladeroof’s role | Sladeroof inspects roof condition, coordinates reroof + solar sequencing, and backs qualifying work with a 25-year leak warranty and 50-year product warranty. |
The mistake most homeowners make when going solar
The conventional wisdom says: get solar quotes first, then figure out the roof. That order is backwards, and it costs people real money.
The most common mistake I see is homeowners signing a solar contract on a roof that has 8–10 years left. The solar salesperson isn’t lying when they quote you a 25-year payback model — they’re just not the person responsible for the roof underneath. By year 10, when the asphalt starts failing, you’re looking at a reroof that now includes panel removal, temporary storage, reinstallation, and resealing. That’s a project that could have been avoided entirely by reroofing to metal before the solar went up.
The second mistake is ignoring shading because the solar quote looks good on paper. A quote built on optimistic production assumptions doesn’t account for the oak tree that shades your south plane from 10 AM to 2 PM in summer. Run the TSRF analysis first. If the number is below 75, no amount of premium panels fixes the geometry.
My practical recommendation: if your roof is within 5 years of needing replacement, reroof to standing-seam metal before the solar installation. The upfront cost is higher, but you eliminate the removal/reinstall risk, preserve the roof warranty, and give the solar system a surface it can actually outlast. If budget is the constraint and asphalt is the only realistic option, choose the highest-quality shingle available and get the solar installer to document every penetration in writing.
The homeowners who get the best lifetime value from solar are the ones who treated the roof decision and the solar decision as one project, not two.
Sladeroof makes your roof solar-ready before the panels go up
The gap between a good solar installation and a great one is almost always the roof underneath. Sladeroof specializes in exactly that gap: getting the roof into the condition where a solar system can perform for its full 25–30 year life without a costly mid-system interruption.

Sladeroof serves homeowners in Idaho, Arizona, and Wyoming with roof inspections, full replacements using impact-resistant and solar-compatible materials, and insurance claim assistance when storm damage makes a pre-solar reroof partially recoverable. The 25-year leak warranty and 50-year product warranty on qualifying installations give you and your solar installer a documented foundation — not a guess about what the roof can handle.
A combined reroof + solar project with Sladeroof typically runs in sequence: inspection and condition report, reroof with solar-ready materials and pre-planned attachment points, then solar installer coordination for racking and electrical. Permits, structural documentation, and flashing details are handled as part of the process.
Schedule a roof inspection with Sladeroof before your solar installation begins — it’s the step that protects every dollar you invest in the system above it.
Useful sources for deeper research
These are the sources used in this article, organized by what they’re most useful for:
- Solar Bid Analyzer — Is My Roof Good for Solar? — Best starting point for understanding TSRF scoring, the 15-year roof-life rule, and when a ground-mount makes more sense than a rooftop array.
- The Roofing Brief — Solar Panels on Metal Roof — Detailed cost data ($2.50–$3.50/W ranges), lifespan comparisons, and the lifetime economics argument for metal over asphalt.
- S-5! PVKIT Rail-Less System — The primary reference for non-penetrating clamp mounting hardware on standing-seam metal; useful when evaluating installer hardware choices.
- GreenLancer — Best Roofing for Solar Panels — Practical overview of asphalt shingle compatibility, flashed lag-bolt mounting, and installer considerations.
- SolarPanel.app — Best Roof Types for Solar Panels — Covers tile and flat-roof trade-offs, ballasted rack systems, and labor cost premiums by material.
- DECRA Blog — What Is the Best Type of Roof for Solar Panels? — Useful perspective on how installer experience with a specific material often matters more than the material’s theoretical properties.
- U.S. Department of Energy — Solar PV System Design Basics — Primary government source for orientation, pitch, and system-sizing guidance; authoritative for TSRF and azimuth production data.
- ASES — Roofing Options That Pair Best With Solar Panels — American Solar Energy Society overview of material compatibility; good for a second opinion on material rankings.
Recommended
Ready for a real answer on your roof?
Slade Roofing pairs licensed insurance agents with licensed roofers. Get your free inspection in about 30 seconds.
Get My Free Inspection →