
Roof Inspection After Storm: A Homeowner’s Checklist
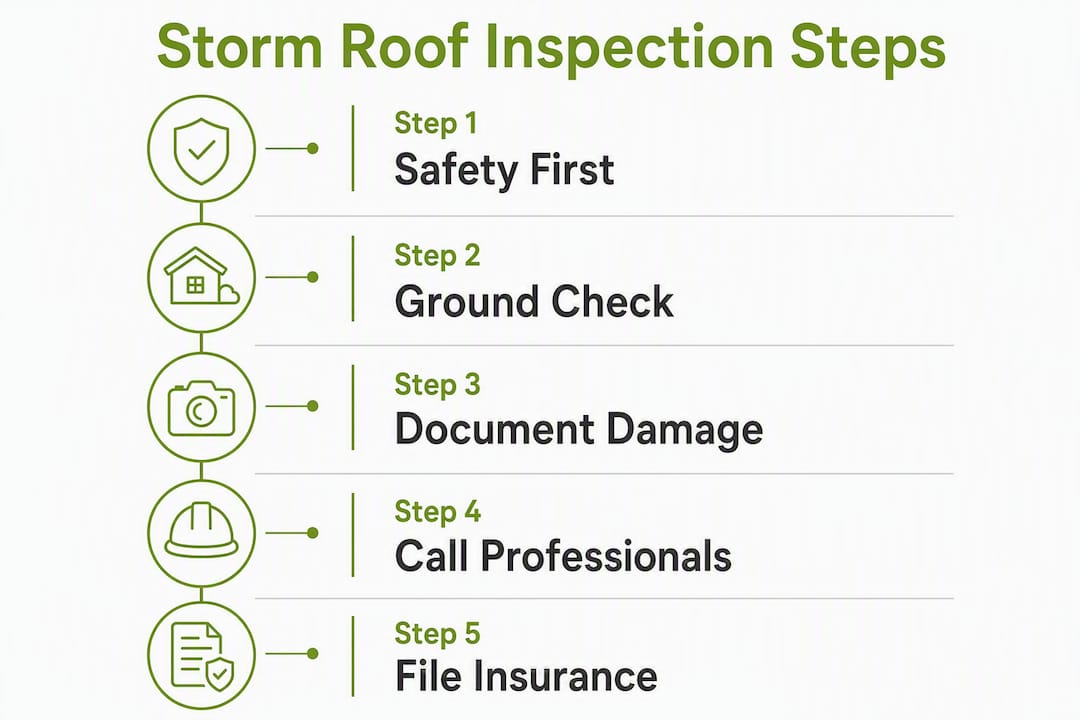
Do this first: secure your safety, document everything you can see, and contact your insurer or a licensed roofer shortly after the storm. Those three steps protect your home and preserve your insurance claim. Everything else follows from them.
Here is the short version you can act on right now:
- Stay off the roof. Wet, icy, or structurally compromised surfaces cause falls. Leave rooftop access to professionals.
- Walk the perimeter and photograph visible damage from the ground including shingles, gutters, and debris impact points.
- Check the attic with a flashlight for water stains, damp insulation, or daylight showing through the deck.
- Tarp active leaks or exposed areas if you can do so safely from a ladder at the eave, and save every receipt.
- Call your insurer to report the loss and note your policy’s reporting window. Then schedule a professional inspection.
For emergency roofing help after a summer storm, acting fast is the single biggest factor in limiting both damage and claim complications.
Table of Contents
- Safe checks you can do without climbing on the roof
- How to recognize storm damage by type and roofing material
- Don’ts, safety warnings, and mistakes that hurt your claim
- When to call a professional and how to vet a roofer
- What a professional storm-damage assessment report contains
- How to document damage and work with your insurer
- What to expect for timing and costs after a storm
- Key Takeaways
- Why the inspection report matters more than most homeowners realize
- Sladeroof’s storm inspection and claims assistance services
- Useful resources for homeowners
Safe checks you can do without climbing on the roof
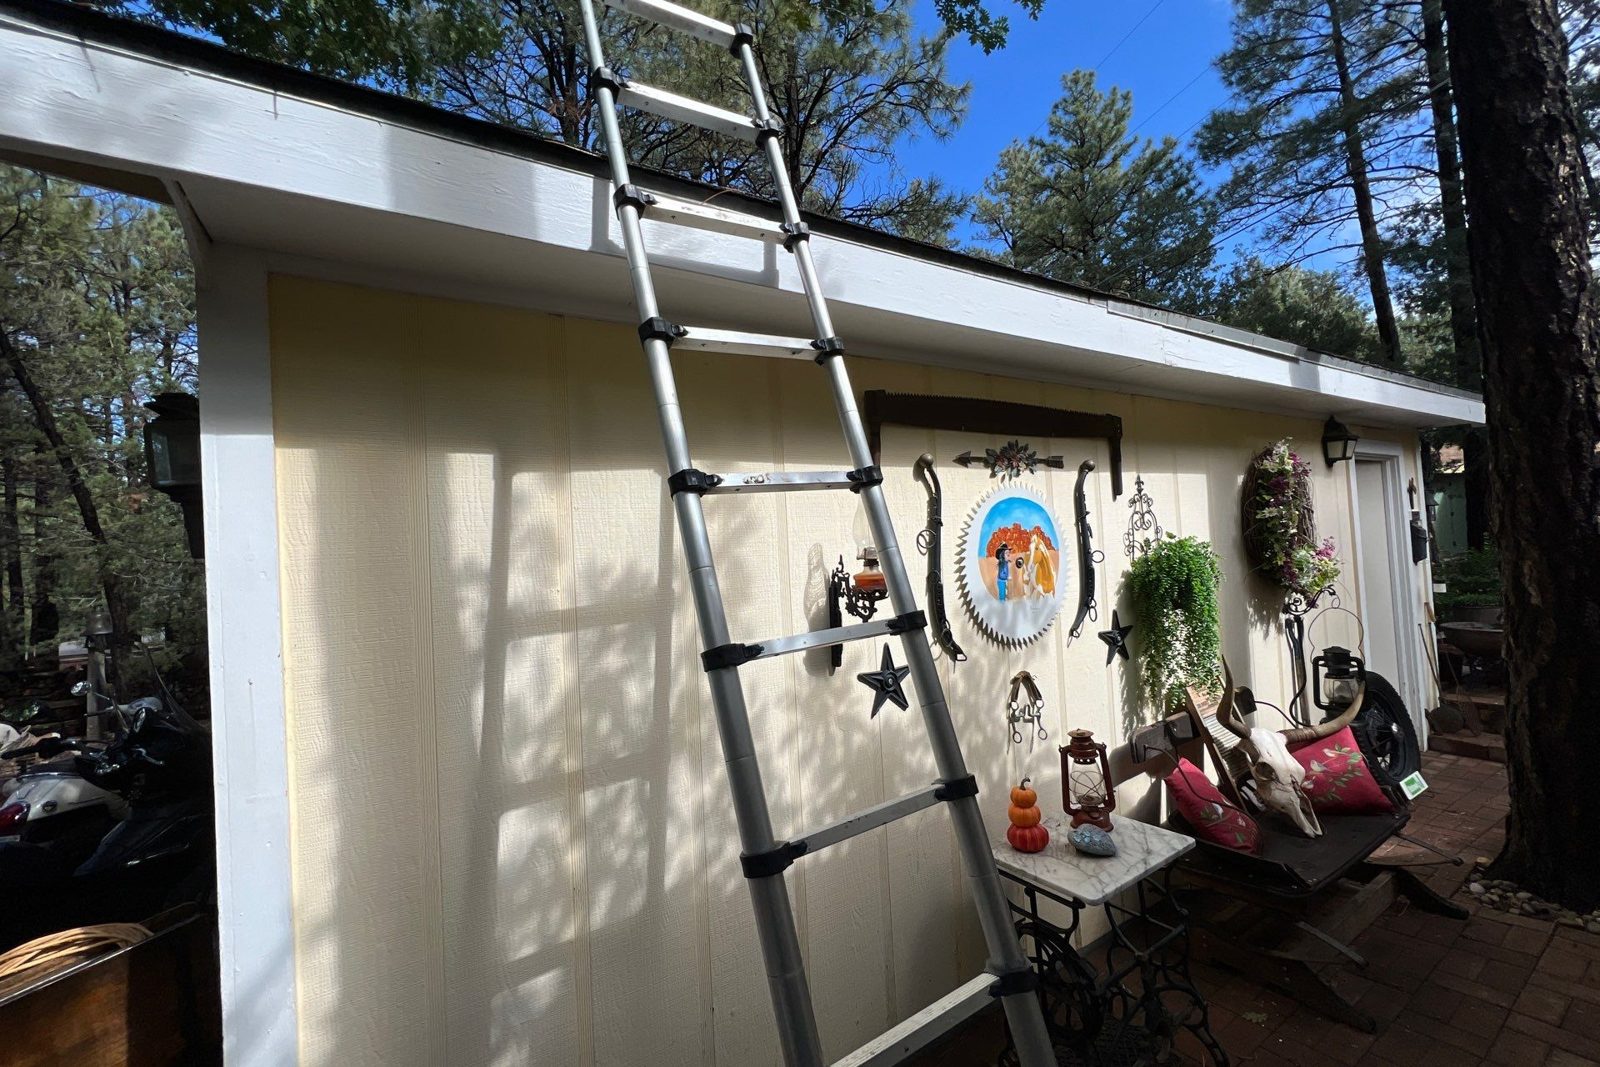
Industry guidance is consistent on this point: homeowners should stay off a storm-damaged roof and limit themselves to ground-level and attic inspections. That is not overly cautious advice. A wet or structurally weakened roof deck can fail under foot traffic, and fall injuries are common in the hours after major storms.
What you need: a smartphone or camera, binoculars, a flashlight, and a notepad. That is genuinely all.
Ground-level perimeter walk: Start at one corner of the house and move clockwise. Use binoculars to scan the roofline, ridge cap, flashing around chimneys and vents, and the edges of each slope. Look for lifted or missing shingles, bent flashing, and any visible punctures from falling branches. Check the gutters and down spouts for granule accumulation — a heavy deposit of dark, sand-like granules after a storm is one of the clearest early indicators of shingle wear or hail impact.
Attic inspection: Go up during daylight. Turn off the attic light, let your eyes adjust, and look for pinpoints of daylight coming through the roof deck. Then turn the flashlight on and scan for water stains on the rafters and sheathing, damp or compressed insulation, mold spots, and any sagging in the deck. These signs often appear before a visible interior ceiling leak develops. Photograph everything you find, including the area around it for context.
“A ground-level scan with binoculars, gutter checks for granule loss, and attic inspections are practical homeowner steps that frequently reveal early signs of storm damage.” — Gharpedia
Pro Tip: Take a wide shot first to show the location, then move in for a close-up with a ruler or a coin for scale. Turn on your phone’s location and timestamp settings before you start, or immediately upload photos to a cloud folder with the date in the folder name. Insurers and inspectors both use that metadata.
How to recognize storm damage by type and roofing material
Not all storm damage looks the same, and some of the most costly damage is nearly invisible from the ground.
Wind damage tends to be the most obvious. Look for missing shingles, lifted edges, torn underlayment visible at the eaves, and detached or bent flashing around chimneys, skylights, and pipe boots. On metal roofs, check for panels that have separated at the seams or fasteners that have backed out.
Hail damage is subtler and varies by material:
- Asphalt shingles: circular dents or “bruising” where the mat is fractured beneath the surface, granule loss concentrated in impact zones, and cracked or split shingles.
- Metal roofing: visible dents, often uniform in size across the slope.
- Tile (clay or concrete): cracked or chipped tiles, sometimes with the break hidden on the underside.
- Low-slope membrane: punctures or surface cratering that may not be visible without close inspection.
Water and ponding damage shows up as staining on fascia boards, water marks on interior ceilings, and soft spots in the deck detectable from the attic. On flat or low-slope roofs, standing water after a storm that persists beyond 48 hours signals a drainage problem that accelerates membrane failure.
Debris impact leaves punctures, cracked tiles, or broken shingle tabs. Even a small branch can compromise the underlayment without visibly destroying the shingle above it.
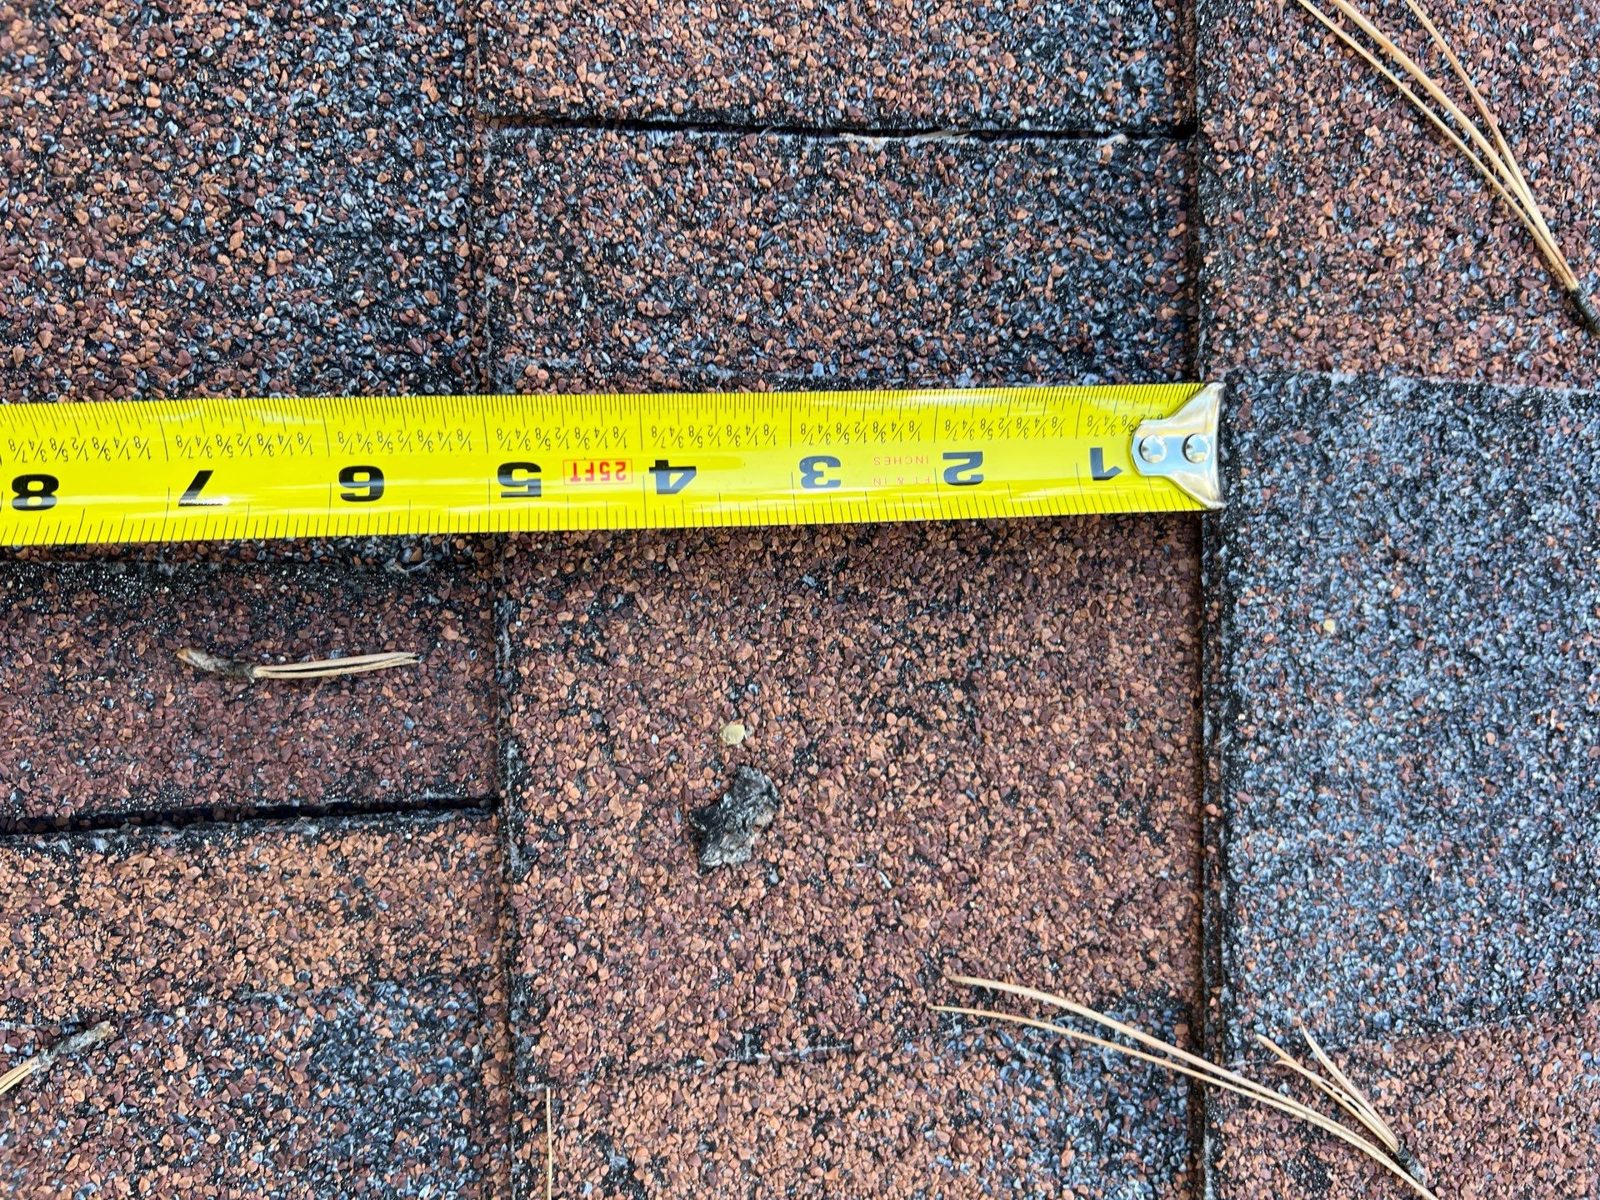
Some damage, particularly broken shingle seals and hail bruising on asphalt, requires a trained eye to identify because the surface can look intact while the structural bond underneath is gone. That is why a professional post-storm roof check matters even when your ground-level scan looks clean.
For your documentation, prioritize these photos: granule clusters in the gutters, lifted shingle edges, dented metal panels, cracked tiles, and any visible daylight or staining in the attic. Those are the visuals insurers and adjusters reference most when evaluating a claim.
Don’ts, safety warnings, and mistakes that hurt your claim
The two most expensive mistakes homeowners make after a storm are climbing onto a damaged roof and signing a contract with the first contractor who knocks on the door. Both are avoidable.
Beyond personal safety, certain actions can directly weaken or void an insurance claim:
- Delaying documentation. Waiting several days to photograph damage gives insurers grounds to argue the damage was pre-existing or worsened by neglect.
- Discarding damaged materials. Keep broken shingles, tiles, or flashing pieces. Physical evidence of impact or failure supports your claim.
- Accepting a rapid offer from a door-to-door contractor. “Storm chasers” often appear in neighborhoods within hours of a major event. High-pressure offers, demands for a signed contract before the adjuster visits, or requests for full upfront payment are red flags.
- Signing a waiver or assignment of benefits before claim resolution. Some contractors ask homeowners to sign documents that transfer insurance rights to the contractor. Read everything before you sign.
- Making permanent repairs before the adjuster inspects. Temporary mitigation (tarping, boarding) is expected and covered. Permanent repairs made before an adjuster documents the damage can complicate or reduce your payout.
One more thing: if the storm left downed power lines near your property or you smell gas, contact your utility company and local authorities before you do anything else. No inspection is worth the risk.
Storm-chaser fraud is a recognized problem across the U.S. roofing industry, and state insurance departments in Idaho, Arizona, and Wyoming all publish contractor-vetting guidance homeowners can reference before signing anything.
When to call a professional and how to vet a roofer
Some situations require a professional from the start. Schedule a professional roof evaluation immediately if you observe any of the following:
- Active leaks or water entering the living space
- Visible sagging in the roof deck or ridge line
- Multiple missing or lifted shingles across a slope
- Flashing that has separated from a chimney, skylight, or wall
- Any hail impacts, even if the surface looks mostly intact
- Structural debris impact (a large branch, not just small twigs)
- Any safety hazard that prevents a safe ground-level inspection
Many roofing contractors offer free inspections after storms and can coordinate directly with your insurer’s adjuster. That coordination matters: a contractor who knows how to document damage in the format adjusters expect can significantly speed up claim processing.
Questions to ask before you hire anyone:
- Are you licensed in this state, and can you show proof?
- Do you carry general liability and workers’ compensation insurance?
- Will you provide a written storm-damage assessment report, not just an estimate?
- Do you have experience working directly with insurance adjusters?
- Can you provide local references from recent storm-damage jobs?
Contract red flags to watch for: no written scope of work, vague or missing material specifications, a demand for full payment before work begins, or a contractor who cannot answer basic questions about permit requirements in your municipality.
Pro Tip: Get at least two written estimates before committing. The estimates themselves are useful comparison documents, but the written storm-damage assessment report is a separate document. Ask specifically for the report, not just a price.
Learning how to pick a good roofer before you need one is the best preparation, but the vetting checklist above works even under post-storm time pressure.
What a professional storm-damage assessment report contains
A contractor estimate tells you what repairs will cost. A storm-damage assessment report is a different document entirely. According to the National Roof Certification and Inspection Association (NRCIA), it functions as official evidence of roof condition: a technical record that documents damage patterns, ties findings to the storm event, and provides the defensible basis for both claim decisions and repair scope.
Here is what a complete report typically includes and why each section matters to your insurer:
| Report Section | Evidence Type | Claim Purpose |
|---|---|---|
| Property and weather event data | Written record with storm date/time | Establishes the covered event |
| Exterior findings (shingles, flashing, gutters) | Photos with scale + written notes | Documents scope and severity |
| Interior/attic findings | Photos + moisture readings | Confirms secondary damage |
| Photographic evidence with timestamps | Date-stamped images | Validates damage timeline |
| Material condition assessment | Written technical notes | Supports repair vs. replacement decision |
| Recommended repairs with specifications | Written scope | Basis for adjuster’s estimate |
The key distinction: a certified assessment report documents patterns of damage across the roof surface and ties them to the storm event. That pattern evidence is what separates a defensible claim from one an adjuster can dispute. A simple estimate lists line items; the report explains why those line items exist.
“A certified assessment report functions differently than a simple contractor estimate: it documents patterns of damage, ties evidence to storm events, and provides a defensible record for claims and repair decisions.” — NRCIA
How a roof inspection supports your insurance claim is worth reading before your adjuster visit — it walks through exactly how inspectors and adjusters use the same report to reach a settlement.
How to document damage and work with your insurer
The documentation you gather in the first 48 hours is the foundation of your claim. Insurers consistently find that homeowners who pair wide-context photos with close-ups, timestamps, and a professional report get better claim outcomes than those who submit photographic evidence alone.
Step-by-step documentation process:
- Wide-context photos first. Photograph each slope of the roof from the ground, showing the full surface. Include the surrounding yard to establish storm context (fallen branches, debris).
- Close-ups with scale. Move in on each area of visible damage. Place a ruler, coin, or tape measure next to the damage before shooting.
- Attic interior evidence. Photograph water stains, damp insulation, and any daylight visible through the deck. Label each photo with the location (e.g., “northeast corner, above master bedroom”).
- Video walkthrough. A slow, narrated video of the perimeter and attic adds context that still photos miss.
- Save storm alerts and news. Screenshot weather service alerts, local news reports, or NOAA storm records for your area on the storm date. This establishes the covered event.
- Keep all receipts. Tarping, emergency boarding, or any temporary repair costs are typically reimbursable. Missing receipts mean missing reimbursement.
When you call your insurer, have ready:
- Your policy number
- The storm date and approximate time
- A brief damage summary (missing shingles, active leak, hail impacts)
- A list of immediate mitigation actions you have taken
Request an adjuster visit and share your organized photo folder and the professional assessment report before or during that visit. Organized, labeled documentation tells the adjuster the story of the damage before they set foot on the property. For a detailed walkthrough of organizing your evidence file, document roof damage for insurance covers the full process.
What to expect for timing and costs after a storm
Timing matters as much as documentation. Allstate recommends scheduling an inspection after any severe weather event, and most insurers expect prompt reporting.
Typical post-storm timeline:
- 0–72 hours: Secure safety hazards, perform ground/attic check, apply emergency tarping if needed, notify insurer, and schedule a professional inspection promptly.
- Within 7–14 days: Professional storm-damage inspection and written assessment report completed.
- 1–3 weeks: Adjuster visit and initial claim review.
- 2–6 weeks: Repair or replacement scheduling, depending on contractor availability and claim approval.
Emergency tarping is usually completed within 24–48 hours of a contractor being engaged. Permanent repairs follow adjuster approval, which can take one to three weeks depending on claim volume after a widespread storm event.
Cost drivers to understand:
- Damage severity and the percentage of the roof affected
- Roofing material (tile and metal replacements cost more than asphalt shingle)
- Whether the damage requires a full replacement or targeted spot repairs
- Local permit requirements, which add both time and cost
- Your deductible, which comes off the top of any payout
| Damage Level | Typical Homeowner Action | Likely Insurer Process |
|---|---|---|
| Minor (a few shingles, small flashing gap) | Document, schedule inspection, file claim | Inspection, spot-repair estimate |
| Moderate (multiple slopes affected, active leak) | Emergency tarp, professional inspection, adjuster visit | Full assessment, repair or partial replacement |
| Catastrophic (structural damage, major deck failure) | Emergency services, full inspection, immediate claim | Full replacement evaluation, extended timeline |
One practical note on deductibles: if the repair cost is close to your deductible amount, filing a claim may not be financially worthwhile. A professional inspection gives you the documented scope to make that decision accurately. Understanding how storm damage affects your roof’s longevity can also help you weigh repair versus replacement when the damage is moderate.
Key Takeaways
A roof inspection after a storm, completed within 7–14 days and paired with organized photo evidence and a professional assessment report, gives homeowners the strongest possible foundation for a safe property and a successful insurance claim.
| Point | Details |
|---|---|
| Act within 24–72 hours | Document damage immediately while evidence is fresh and before secondary water damage compounds. |
| Stay off the roof | Limit checks to ground-level and attic inspections; leave rooftop access to licensed professionals. |
| Get a written assessment report | A certified storm-damage report documents patterns of damage that a simple estimate cannot provide. |
| Avoid door-to-door contractors | Vet every contractor for licensing, insurance, and a written scope before signing anything. |
| Sladeroof offers full storm response | Sladeroof provides emergency tarping, professional storm-damage inspections with written reports, and insurance claim assistance across Idaho, Arizona, and Wyoming. |
Why the inspection report matters more than most homeowners realize
Most homeowners think the hardest part of a storm claim is the damage itself. Having worked in both roofing and insurance for over 20 years, I’d argue the harder part is the documentation gap: the space between what a homeowner can see from the ground and what an adjuster needs to approve a full replacement.
That gap is where claims get denied or underpaid. A homeowner photographs missing shingles and submits the photos. The adjuster notes the visible damage, approves spot repairs, and closes the claim. Six months later, the roof leaks again because the hail bruising that broke the shingle seals across three slopes was never documented. The second claim is now a harder fight.
A certified storm-damage assessment report closes that gap. It documents the full pattern of damage, not just the obvious pieces. It ties findings to the storm event with weather data. It gives the adjuster a technical record that is much harder to dispute than a homeowner’s photos alone. That is the difference between a claim that covers the actual damage and one that covers only what was visible on the day of the visit.
Sladeroof’s approach to storm inspections is built around this: every inspection produces a written assessment report, not just an estimate. The report is the evidence. The estimate follows from it. That sequence matters because it protects the homeowner, not just the contractor’s scope of work.
Sladeroof’s storm inspection and claims assistance services
After a storm, the last thing you need is to manage three separate vendors: one for emergency tarping, one for the inspection, and one for the actual repair. Sladeroof handles all of it under one roof, with over 20 years of combined roofing and insurance expertise.

Sladeroof provides emergency tarping and debris clearing, full storm-damage inspections with written assessment reports, direct coordination with your insurer’s adjuster, and repair or full replacement using impact-resistant materials backed by a long-term warranties on leak protection and product durability. The inspection report Sladeroof produces is built specifically to meet insurer documentation standards, which means fewer back-and-forth delays and a faster path to claim resolution.
Services are available across Idaho, Arizona, and Wyoming. Most homeowners can schedule a same-week inspection after a storm event. To request an inspection or get emergency help, visit Sladeroof’s residential roofing services or call directly. If you own a commercial property, commercial roofing services cover the same storm-response workflow for business owners.
Useful resources for homeowners
These sources are worth bookmarking before the next storm season:
- NRCIA — Storm Damage Roof Assessment Report: — Use this to understand what a certified assessment report should contain and how to evaluate whether a contractor’s report meets that standard.
- American Family Insurance — How to Check Your Roof for Storm Damage: — Practical insurer-facing advice on when professional inspections are necessary even when ground-level checks look clean.
Recommended
Ready for a real answer on your roof?
Slade Roofing pairs licensed insurance agents with licensed roofers. Get your free inspection in about 30 seconds.
Get My Free Inspection →