Roof Inspection Cost in 2026: What Homeowners Pay
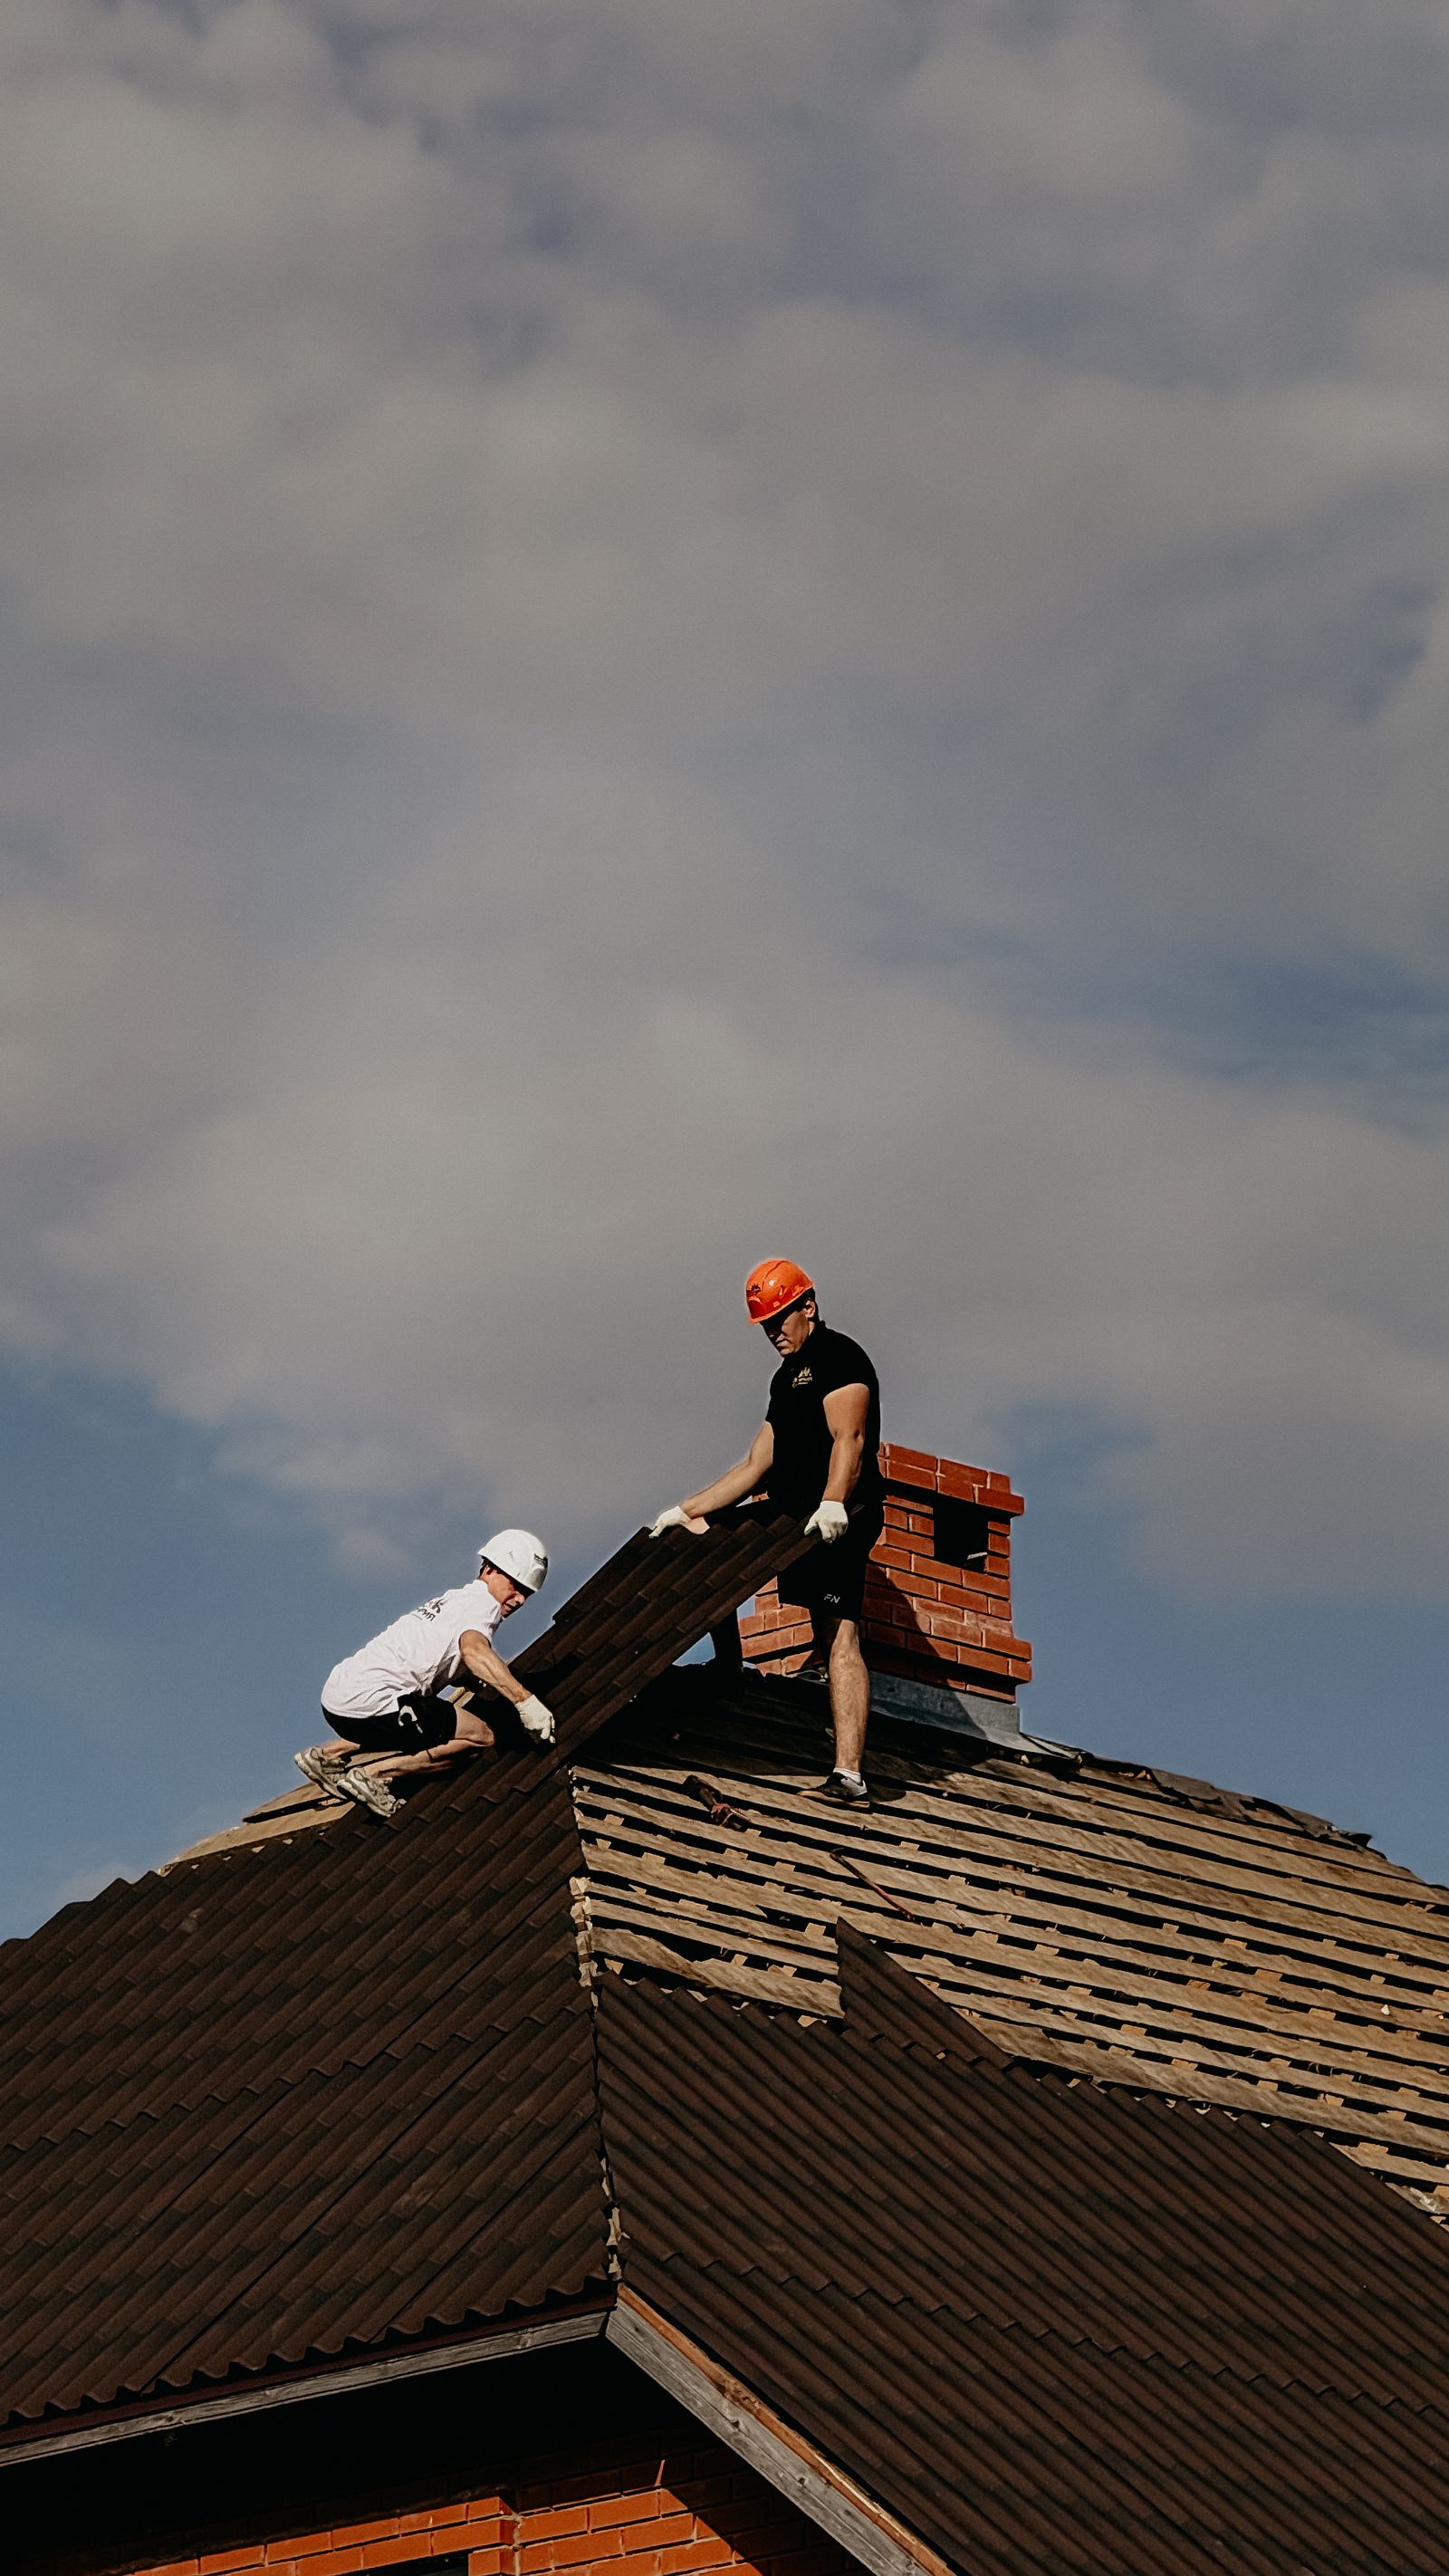
A professional roof inspection in the U.S. typically costs between $75 and $1,039, with a national average near $249. Three things move that number more than anything else: what type of inspection you need, how big and steep your roof is, and where you live.
- Basic visual/walk-on inspection: $75–$250 for a standard-pitch asphalt roof under 2,000 sq ft, usually completed in under two hours.
- Infrared or drone inspection on a complex roof: $300–$1,039 or more, especially when thermal imaging, attic checks, or a certification letter are added.
Pro Tip: Pay for an independent inspection (not a free contractor visit) any time you’re buying or selling a home, disputing an insurance claim, or chasing a recurring leak that no one has diagnosed correctly. The $150–$400 fee is cheap compared to a missed defect or a denied claim.
Key Takeaways
The national average for a professional roof inspection is $249, but what you actually pay depends on inspection type, roof size, pitch, and region.
| Point | Details |
|---|---|
| National average and range | Expect $75–$1,039; the most common single-inspector visit runs near $249 for a standard residential roof. |
| Top three cost drivers | Inspection type (visual vs. drone vs. infrared), roof square footage, and roof pitch/steepness move the price most. |
| Independent vs. free inspection | Pay for an independent inspection before buying/selling, after a storm, or when disputing a claim; free contractor inspections often carry a sales motive. |
| Budget for add-ons | Attic inspection ($200–$500), certification letter ($75–$200), and infrared add-on ($150–$400) are frequently billed separately from the base fee. |
| Sladeroof | Provides documented inspections with written reports, photos, and insurance-ready findings across Idaho, Arizona, and Wyoming. |
Table of Contents
- What drives roof inspection cost?
- How does inspection type affect what you pay?
- How much does roof size affect the total price?
- What does a professional roof inspection actually include?
- Common add-ons and what they typically cost
- When does insurance cover the inspection, and how does an independent report help?
- How often should you inspect your roof?
- How to choose a roof inspector: credentials, reports, and red flags
- How to estimate your personal inspection cost
- Sladeroof inspections: documented, certified, and built for claims
- Sources
What drives roof inspection cost?
Price varies more than most homeowners expect, and it rarely comes down to just one thing.
Roof size. Inspectors price by time, and time scales with square footage. Some charge a flat fee up to a certain size, then add a per-square-foot rate beyond that. A 1,000 sq ft roof and a 3,500 sq ft roof are not the same job, even if the pitch is identical.
Pitch and height. A steep roof (above a 6:12 pitch) requires a harness, slower movement, and sometimes a second person on the ground. Many inspectors add a surcharge of $50–$100 or more for steep or high roofs where walking safely isn’t straightforward.

Roofing material. Asphalt shingles are forgiving underfoot. Slate, clay tile, and cedar shake are not. Inspectors move more carefully on fragile materials to avoid cracking them, which adds time and often a premium.
Accessibility. A single-story ranch is easy. A three-story home with no safe ladder placement, a flat commercial membrane roof with HVAC equipment in the way, or a roof over a detached garage with no clear access point all push costs up. When a roof can’t be walked safely, inspectors switch to binoculars, a drone, or both.
Inspection type. A standard visual inspection and a combined drone-plus-thermal scan are different products at different price points. More on this in the next section.
Visible damage and complexity. If the inspector finds active damage, a complex valley system, multiple penetrations, or a roof with three layers of shingles, the job takes longer. Time-based billing means complexity costs money.
Region and labor market. Regional wage rates and local housing market conditions push inspection prices higher in urban coastal markets and lower in rural areas. Post-storm demand spikes are real: after a major hail or wind event, inspectors in affected areas often book out weeks in advance, and some charge surge pricing.
Inspector credentials. An InterNACHI-certified inspector, an NRCA-recognized professional, or a Haag-certified engineer typically charges more than an uncredentialed contractor offering a free look. That premium is usually worth it for documentation quality and objectivity.
Pro Tip: Ask every inspector upfront whether their quoted price includes the attic check and the written report with photos. Many base quotes cover only the exterior walk-on. The add-ons are where the final bill diverges from the estimate.
How does inspection type affect what you pay?
The type of inspection you choose is the single biggest cost lever after roof size. Here’s how the main options compare:
Residential drone inspections run $150–$500, and adding thermal imaging pushes that toward $300–$700. The drone option makes particular sense when a roof is too steep to walk safely, when a homeowner wants documentation without anyone on the roof, or when an insurer needs photographic evidence quickly.
Infrared scans are the right call when you suspect moisture that isn’t showing up visually. Thermal cameras detect temperature differentials caused by wet insulation or trapped moisture under the membrane, often before any visible staining appears inside.
A few notes on combined services: bundling a visual inspection with an attic check and a certification letter is common for real estate transactions. Expect to pay $50–$150 more per add-on. Asking for a package price upfront usually saves more than booking each service separately.
How much does roof size affect the total price?
Cost guides consistently show that inspection price scales with square footage, though the relationship isn’t perfectly linear. Here are representative ranges for common residential roof sizes:
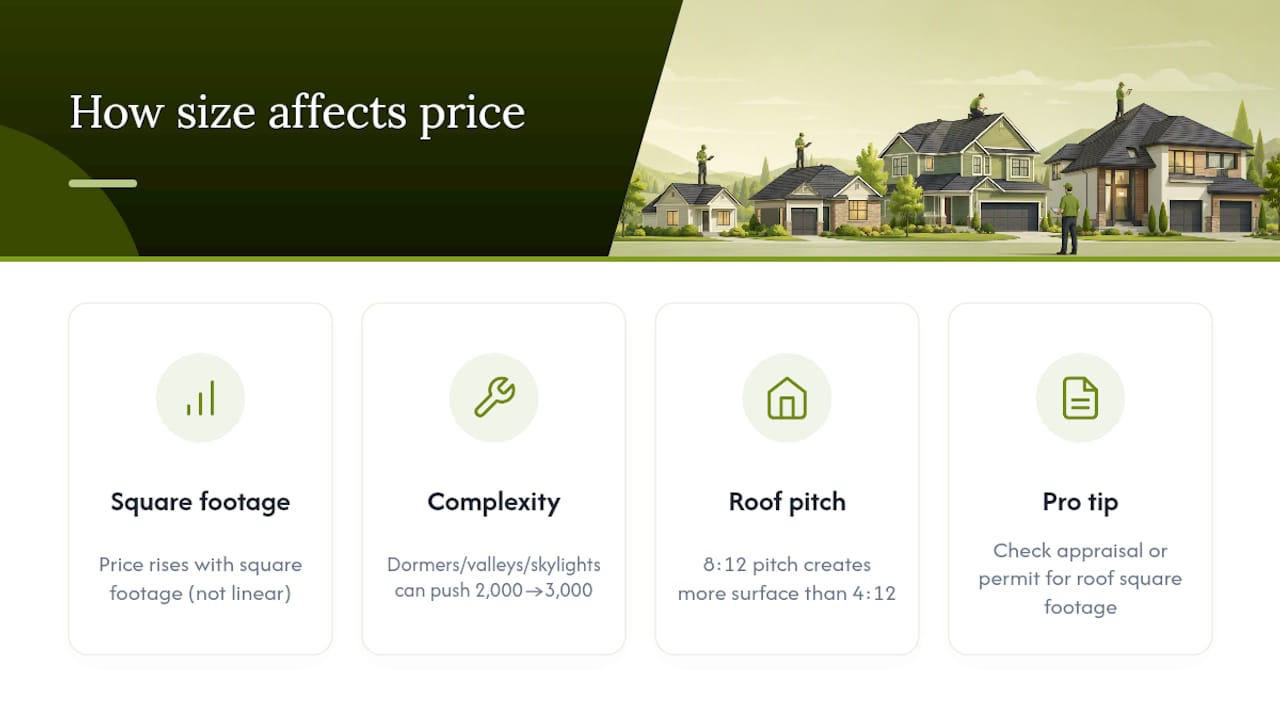
These ranges assume a standard-pitch asphalt shingle roof with normal accessibility. A complex roofline with dormers, multiple valleys, skylights, or a chimney can push a 2,000 sq ft roof into the 3,000 sq ft price band even though the square footage is the same. Complexity adds time, and time adds cost.
One thing homeowners often miss: your roof’s actual surface area is larger than your home’s footprint. A 2,000 sq ft house with a steep 8:12 pitch has significantly more roof surface than the same house with a 4:12 pitch. When an inspector quotes by square footage, ask whether they’re pricing off the house footprint or the actual roof surface area.
Pro Tip: If you don’t know your roof’s square footage, your home’s appraisal or original building permit often lists it. Alternatively, most inspectors will estimate it from the exterior before finalizing a quote.
What does a professional roof inspection actually include?
Knowing what you’re paying for helps you evaluate whether a report is thorough or thin.
Exterior inspection
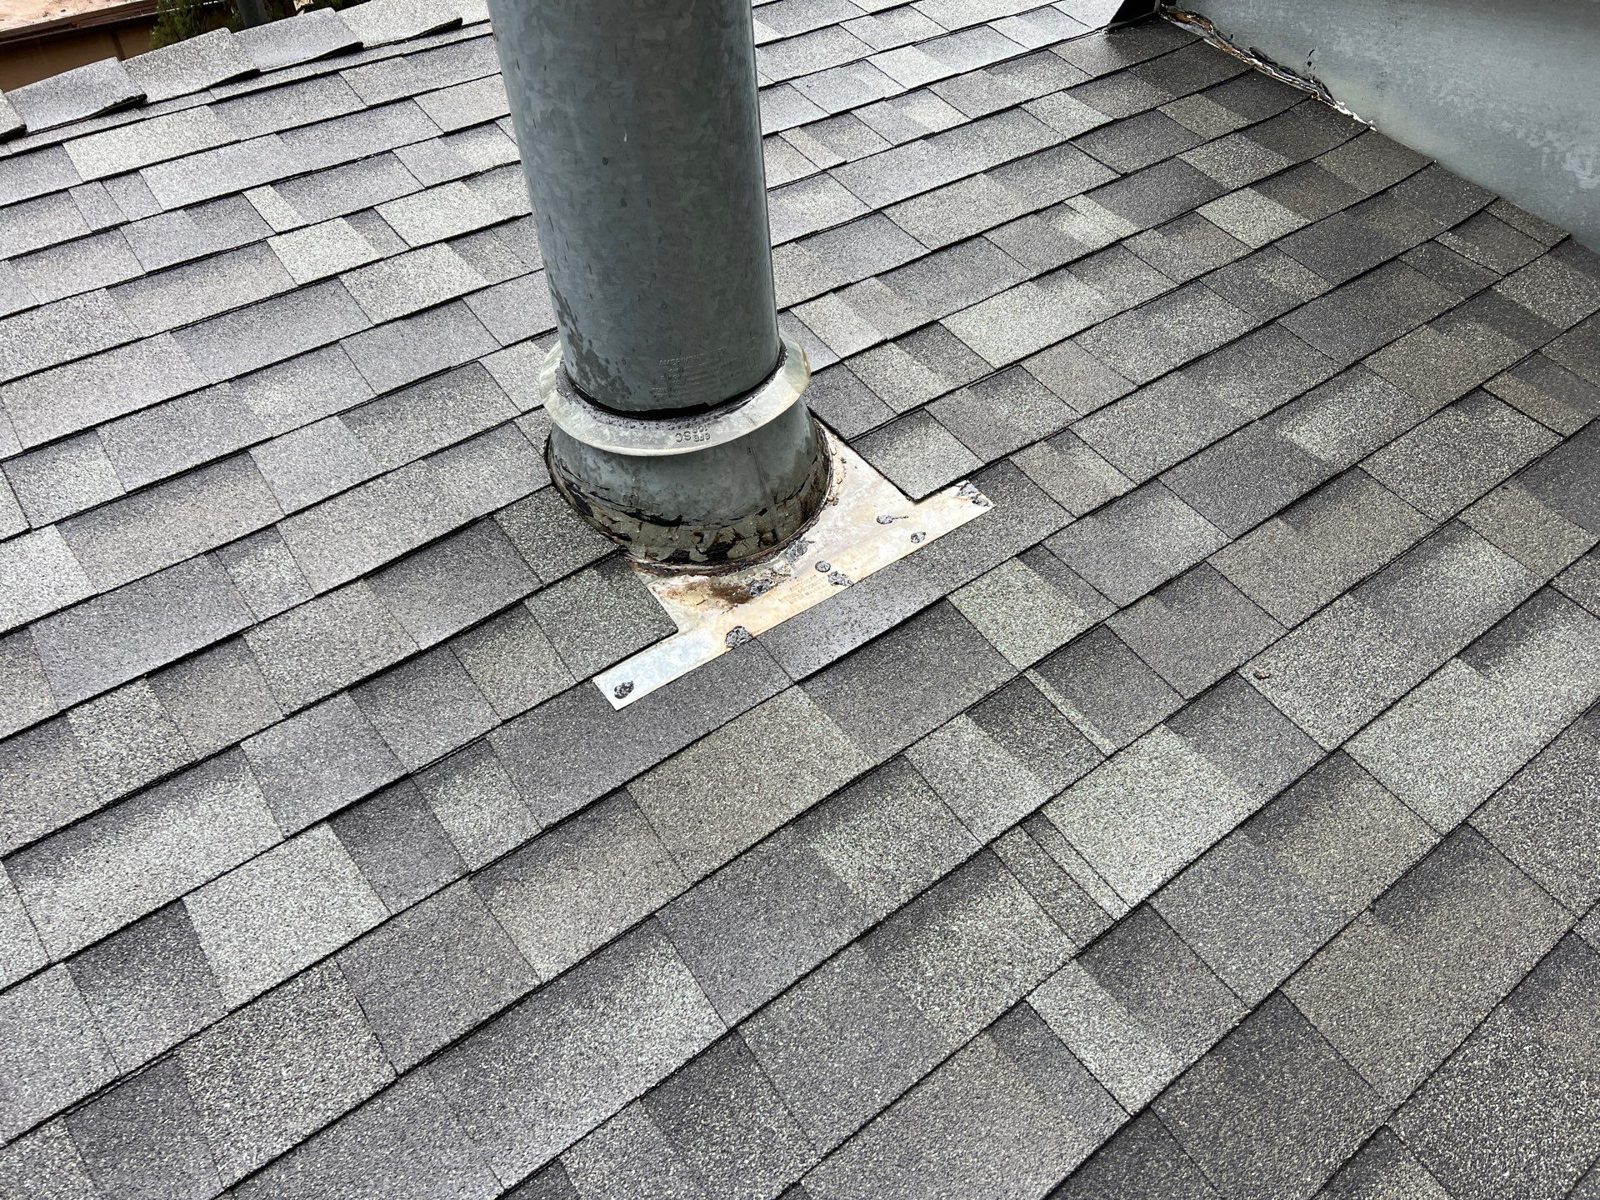
The inspector examines every surface they can safely access: shingles for cracking, curling, granule loss, or missing sections; flashing around chimneys, skylights, and pipe boots; gutters and downspouts for damage or improper slope; ridge caps and hip shingles; soffit and fascia condition; and any visible signs of sagging or structural deflection. Good inspectors photograph every defect they find, not just the obvious ones.
Attic and interior check
When the attic inspection is included (confirm this before booking), the inspector looks for signs of active or past leaks, staining on rafters or sheathing, rot, mold, inadequate ventilation, and insulation problems. HUD technical guidance directly links roof condition and moisture management to indoor air quality and long-term building durability, which is why the attic check matters beyond just finding a drip.
Safety and access decisions
Not every roof gets walked. When pitch, height, or material makes walking unsafe, a professional inspector will use binoculars from the ground, a ladder to inspect the edge, or a drone for aerial coverage. Ask upfront which method they plan to use, because a ground-only visual misses things a walk-on inspection catches.
Report delivery
A solid inspection report includes dated photos of every defect, a severity rating (monitor vs. repair soon vs. replace now), estimated remaining useful life of the roof system, and specific repair recommendations. Most inspectors deliver the report within 24–48 hours of the visit. If a company can’t give you a sample report before you book, that’s a red flag.
Questions to ask at the end of the inspection:
- What is the estimated remaining life of this roof?
- Which defects need attention before the next season?
- Are there any issues that would affect an insurance claim or a home sale?
- Is the attic ventilation adequate?
- Do you recommend any follow-up testing (infrared, moisture probe)?
Common add-ons and what they typically cost
Most base inspection quotes don’t include everything. Here’s what commonly gets billed separately:
- Attic inspection: $200–$500 added to a base exterior inspection. Worth it on any home over 15 years old, before a purchase, or when interior water stains have appeared.
- Roof certification letter: Typically $75–$200. A written statement that the roof has a certain number of years of remaining life, required by many mortgage lenders and insurers before closing.
- Infrared/moisture mapping: $150–$400 as a standalone add-on to a visual inspection. Detects wet insulation and trapped moisture that won’t show up on photos. Use it when you’ve had recurring leaks with no clear source.
- Drone imaging package: $100–$300 for documentation-only aerial photos; more for a full drone inspection with a professional written report. Useful for insurance claim documentation when you need clear aerial evidence of storm damage.
- Time-based surcharges: Some inspectors bill hourly beyond a base time (often 90 minutes to two hours). A complex roof with multiple penetrations, steep pitch, or extensive damage can add $75–$150 to the final bill.
For a real estate transaction, budget for the base inspection plus attic check plus certification letter. That combination typically runs $300–$600 total and covers what most lenders and buyers’ agents will ask for.
When does insurance cover the inspection, and how does an independent report help?
Insurance rarely pays for a routine maintenance inspection. What it does sometimes cover, or reimburse indirectly, is a storm-damage inspection tied to an active claim. Policy terms vary, so read yours before assuming.
The more important question is when you should pay for an independent inspection regardless of what insurance covers. Three situations stand out:
- Before filing a claim: An independent inspector documents damage before an adjuster arrives. That report gives you a baseline and prevents the adjuster from attributing pre-existing wear to storm damage, or vice versa.
- After a disputed claim: If an adjuster’s assessment seems low or misses damage, a Haag-certified inspector provides a credentialed counter-evaluation. Haag Engineering’s certification is widely recognized by insurers as a rigorous standard for storm-damage analysis, and a Haag-certified report carries more weight in a dispute than a general contractor’s opinion.
- For wind-mitigation discounts: In hurricane-prone markets, a wind-mitigation inspection documents construction features that qualify for premium discounts. The inspection fee often pays for itself in the first year of reduced premiums.
On timing: Get an independent inspection within days of a major storm, not weeks. Adjusters move quickly, and documentation gaps created by delay are hard to close later. Photograph the interior immediately after the storm (water stains, ceiling damage), then get a professional on the roof as soon as it’s safe. A well-documented claim, supported by an independent inspection report, is far harder to underpay than an undocumented one.
How an inspection supports your insurance claim comes down to one thing: paper. Adjusters work from evidence. An independent report with dated photos, a defect list, and a Haag-certified methodology gives you evidence the adjuster has to address, not ignore.
How often should you inspect your roof?
The standard recommendation is once a year for roofs under 10 years old and twice a year once the roof passes 15 years. Add an inspection after any major storm, before listing a home for sale, and when buying a home with a roof of unknown age or condition.
Red flags that need an inspection now, not at the next scheduled interval:
- Active leaks or water stains on ceilings or walls
- Visible sagging anywhere on the roofline
- Missing or displaced shingles after high winds or hail
- Heavy moss, algae, or lichen growth (especially in shaded areas)
- Granules accumulating in gutters (sign of accelerating shingle wear)
- Daylight visible in the attic
Seasonal timing matters. Spring and fall are the primary windows: spring catches winter damage before summer heat sets in, and fall catches wear before freeze-thaw cycles stress the roof further. You can find more on spotting roof trouble early before it becomes a repair bill.
Off-season inspections (winter, midsummer) are fine when a specific concern drives them. Don’t wait for the “right” season if you’re seeing active signs of damage.
Pro Tip: Schedule fall inspections in September or early October, before the first freeze. Inspectors are easier to book, and any repairs identified can be completed before winter weather makes them worse and more expensive.
How to choose a roof inspector: credentials, reports, and red flags
The cheapest inspection is rarely the best one, and a free inspection from a contractor with a replacement quote ready is a different product than an independent assessment.
Here’s a numbered checklist for evaluating inspectors:
- Check credentials first. Look for InterNACHI certification, NRCA recognition, or Haag Engineering certification for storm work. InterNACHI’s standards of practice define what a thorough inspection must cover, and certified inspectors are held to that scope. An uncredentialed inspector has no external accountability for what they check or skip.
- Ask for a sample report. A good inspector will send one without hesitation. Look for dated photos, a defect list with severity ratings, repair recommendations, and an estimated remaining life. A report that says “roof is in fair condition” with no photos is not a report.
- Understand the pricing model. Flat-fee pricing is the most transparent: you know the total before the inspector arrives. Per-square-foot pricing is fair for large or complex roofs. Time-based billing is reasonable but harder to predict. Get the pricing model in writing before booking.
- Verify insurance. Ask whether the inspector carries general liability and errors-and-omissions (E&O) insurance. E&O coverage means if they miss something significant, there’s a path to recourse. No E&O means you absorb the risk of a missed defect.
- Confirm what’s included. Does the quote include the attic inspection? The written report? Photos? A certification letter if needed? Get this in writing.
Red flags to walk away from:
- Free inspections that arrive with a replacement quote already printed
- No contractor’s license or proof of insurance when asked
- Reports delivered verbally with no written documentation
- Pressure to sign a contract the same day as the inspection
- No mention of credentials when asked directly
Pro Tip: For a second opinion on a contractor’s damage assessment, hire an inspector who does not do repairs. An inspector with no financial stake in the outcome gives you a cleaner read on what actually needs fixing. You can find guidance on how to pick a good roofer that applies equally well to choosing an inspector.
How to estimate your personal inspection cost
National averages are a starting point. Here’s a simple method to get closer to your actual number.
Step 1: Start with the base rate for your roof size. Use the size table above. A 2,000 sq ft roof on a standard-pitch asphalt home sits at roughly $150–$250 for a basic visual inspection.
Step 2: Apply a complexity adjustment.
- Standard pitch (4:12 or less), simple roofline: no adjustment.
- Moderate pitch (5:12–7:12) or multiple dormers/valleys: add $50–$100.
- Steep pitch (8:12+) or fragile material (slate, tile): add $75–$150.
Step 3: Add the inspection-type premium.
- Standard visual: $0 added.
- Drone visual: add $75–$200.
- Infrared/thermal: add $150–$350.
- Drone + thermal: add $200–$450.
Worked example: A 2,000 sq ft home with a moderate 6:12 pitch, asphalt shingles, and a standard visual inspection.
- Base: $200
- Complexity (moderate pitch): +$75
- Inspection type (standard visual): +$0
- Estimated total: $275
Add $150–$200 if you want the attic inspection included, and another $75–$150 for a certification letter. A fully documented pre-sale inspection package for this home would likely run $400–$600 total, consistent with HomeGuide’s typical range for comprehensive inspections.
Pro Tip: Always budget for at least one add-on you didn’t plan for. Inspectors frequently discover something during the exterior check that warrants an attic look or a moisture probe. Building $100–$150 of buffer into your estimate avoids the awkward conversation about whether to skip the follow-up.
Why regular inspections are worth every dollar
After more than 20 years working at the intersection of roofing and insurance, one pattern stands out clearly: the homeowners who get hurt financially are almost never the ones who spent $250 on an annual inspection. They’re the ones who skipped it for three years, then discovered a $15,000 repair that started as a $400 flashing fix.
A documented inspection does three things a free contractor visit can’t. It gives you an objective baseline, it creates a paper trail that matters when an insurer questions whether damage is storm-related or deferred maintenance, and it catches problems while they’re still cheap. Sladeroof’s approach to roofing is built around exactly this logic: prevent the claim before it happens, and document everything so that when a claim is necessary, it moves fast.
The homeowners who get the most from their roofs aren’t the ones who spend the most. They’re the ones who inspect regularly, act on small findings before they compound, and have the documentation to back up every claim they file.
Sladeroof inspections: documented, certified, and built for claims
Sladeroof serves homeowners and commercial property owners across Idaho, Arizona, and Wyoming with professional roof inspections that go beyond a visual pass. Every inspection includes a written report with photos, a defect severity list, and repair recommendations you can act on or hand directly to your insurer.
With over 20 years of combined roofing and insurance experience, Sladeroof’s inspectors understand what adjusters look for and how to document damage in a way that holds up in a claim. Whether you need a pre-sale certification, a post-storm damage report, or a routine maintenance check before winter, the process is straightforward: book, inspect, receive your report within 48 hours.
For homeowners in Idaho, Arizona, and Wyoming who want an inspection that protects both their roof and their claim, schedule your inspection with Sladeroof or explore residential roofing services to see what’s covered. If you’re managing a commercial property, commercial roofing services are available across the same service area.
Sources
- How Much Does a Roof Inspection Cost? 2026 Data | Angi
- 2026 Roof Inspection Cost | Certification & Report Prices
- Drone Roof Inspection Guide 2026 | Cost, Process & Benefits
- Nachi
- Huduser
Recommended
Ready for a real answer on your roof?
Slade Roofing pairs licensed insurance agents with licensed roofers. Get your free inspection in about 30 seconds.
Get My Free Inspection →