
Roof Inspection for Insurance: What Homeowners Must Know
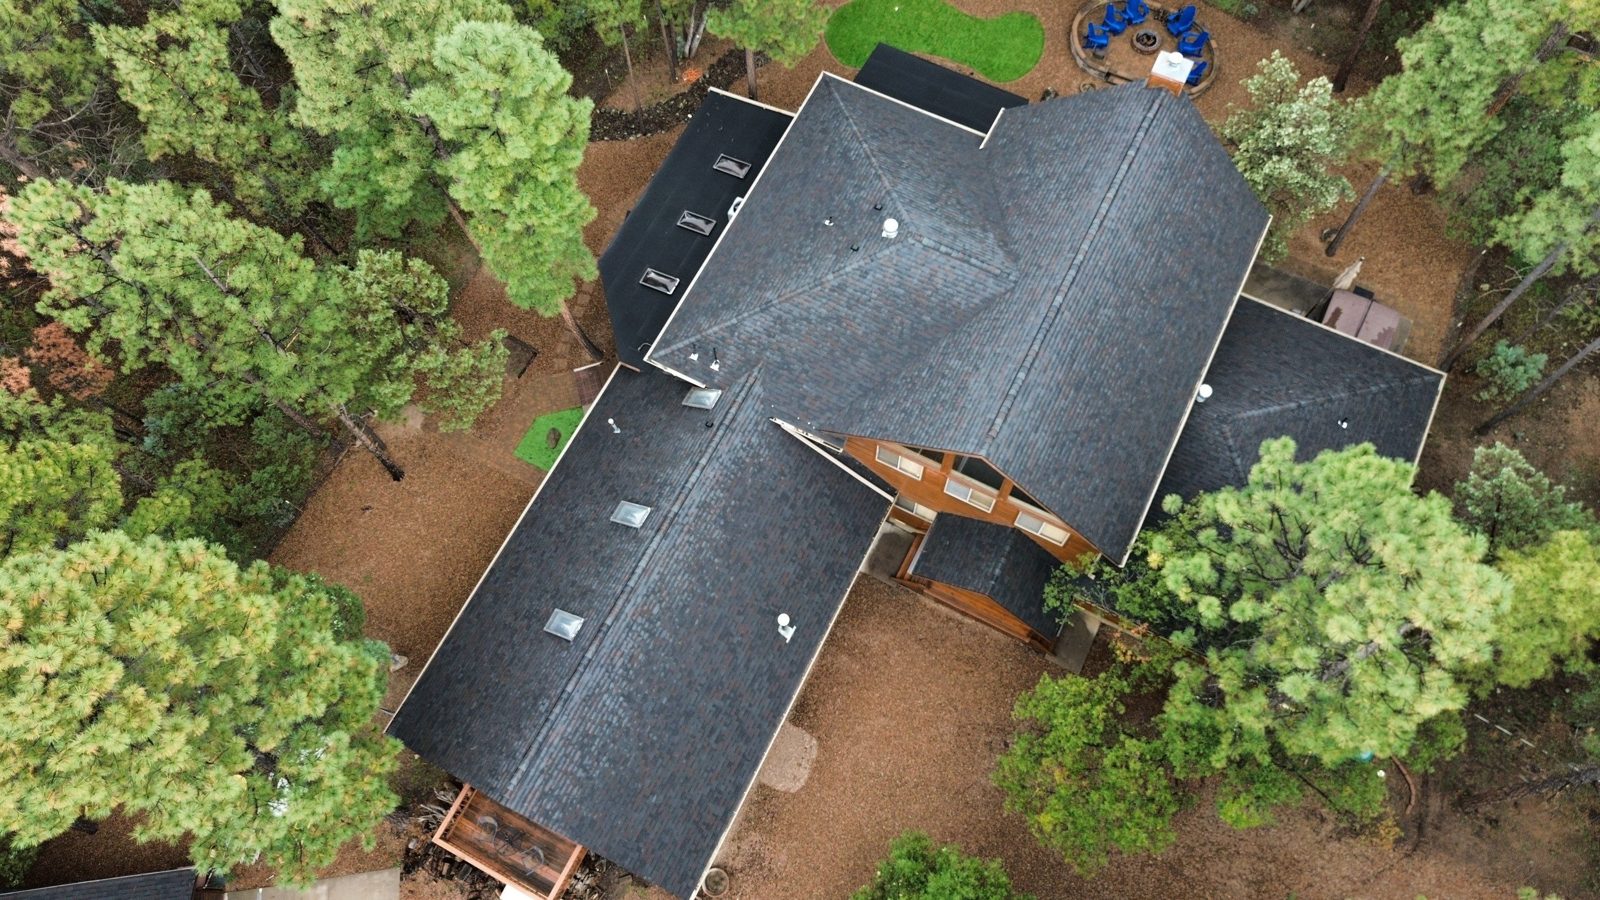
If your roof has storm damage, the single most important thing you can do right now is hire an independent, insurance-experienced inspector or contact Sladeroof before the carrier’s adjuster sets foot on your property. Document everything with timestamped photos first. Then get a formal inspection report that states the cause, the scope, and a line-item repair estimate. That package is your negotiating position.
Your three immediate next steps:
- Stay off the roof if it is unsafe. Photograph the full roof from the ground (four sides), then get close-ups of every damaged area with a coin or ruler in frame for scale.
- Contact an independent inspector or Sladeroof for a formal, cause/opinion inspection report before the carrier schedules their adjuster.
- Gather maintenance records, prior repair invoices, and any before-photos you have. Submit everything together when you file.
What your inspector’s report must deliver:
- A clear cause/opinion statement (e.g., “hail impact on two slopes, a count of impacts per 100 sq ft consistent with claim thresholds, resulting in granule loss”)
- Timestamped, annotated photos with slope labels, compass direction, and close-up context shots
- Measurements and impact counts per 100 sq ft where hail is involved
- A line-item repair or replacement estimate
- The inspector’s license number, credentials, and proof of insurance
Table of Contents
- What a roof inspection for insurance actually does for your claim
- What to expect during a professional roof inspection
- How to spot storm damage versus normal wear
- What a strong inspection report looks like
- How to work with insurers and adjusters after an inspection
- How to choose the right inspector for an insurance claim
- How Sladeroof handles insurance-focused inspections
- Key Takeaways
- The case for getting ahead of the adjuster
- Sladeroof handles the inspection, the report, and the claim
- Useful sources
What a roof inspection for insurance actually does for your claim
Most homeowners think of a roof inspection as a pass/fail test. Insurers do not. Carriers use inspections to calculate near-term failure risk, which means even small issues like missing granules, moss growth, or a sagging ridgeline can change your underwriting outcome. That distinction matters for two completely different inspection types.
A claim-related inspection documents a discrete event: the hailstorm on a specific date, the wind that lifted three courses of shingles. Its job is to establish cause and scope so the carrier can validate or deny the loss. An underwriting or renewal inspection is a risk snapshot: how much useful life does this roof have, and does the carrier want to keep insuring it at the current terms? Homeowners frequently confuse the two and expect a claim inspection to automatically improve their coverage terms. It does not work that way.
After any inspection, the carrier typically takes one of four actions:
- No action — roof passes the risk threshold, claim proceeds normally
- Repairs required — carrier flags specific deficiencies and gives a window to fix them, commonly 30–90 days
- Coverage adjustment — higher deductible, switch from replacement cost value (RCV) to actual cash value (ACV), or reduced coverage at renewal
- Non-renewal — roof condition exceeds the carrier’s tolerance; policy is not renewed
Common triggers for a carrier-ordered inspection include roof age thresholds (typically 15–25 years depending on the insurer), a recent claim, a policy transfer within the first 60 days, or renewal underwriting sampling. You may receive an inspection notice without any storm event at all.
Documented routine maintenance — gutter cleaning receipts, minor repair invoices, dated photos of seasonal upkeep — substantially reduces the chance of denials and unfavorable underwriting actions. Keep those records.
What to expect during a professional roof inspection
Not every inspection looks the same. The type you get depends on who ordered it and why.
Drive-by and aerial inspections happen without you present. Carriers use vendors like EagleView and Nearmap for high-resolution satellite and drone imagery that can reveal missing shingles, ponding, and granule loss from overhead. These are common for underwriting reviews and initial claim triage. If the carrier uses aerial imagery first, get your own independent report into the claims portal immediately so your evidence sits alongside theirs.
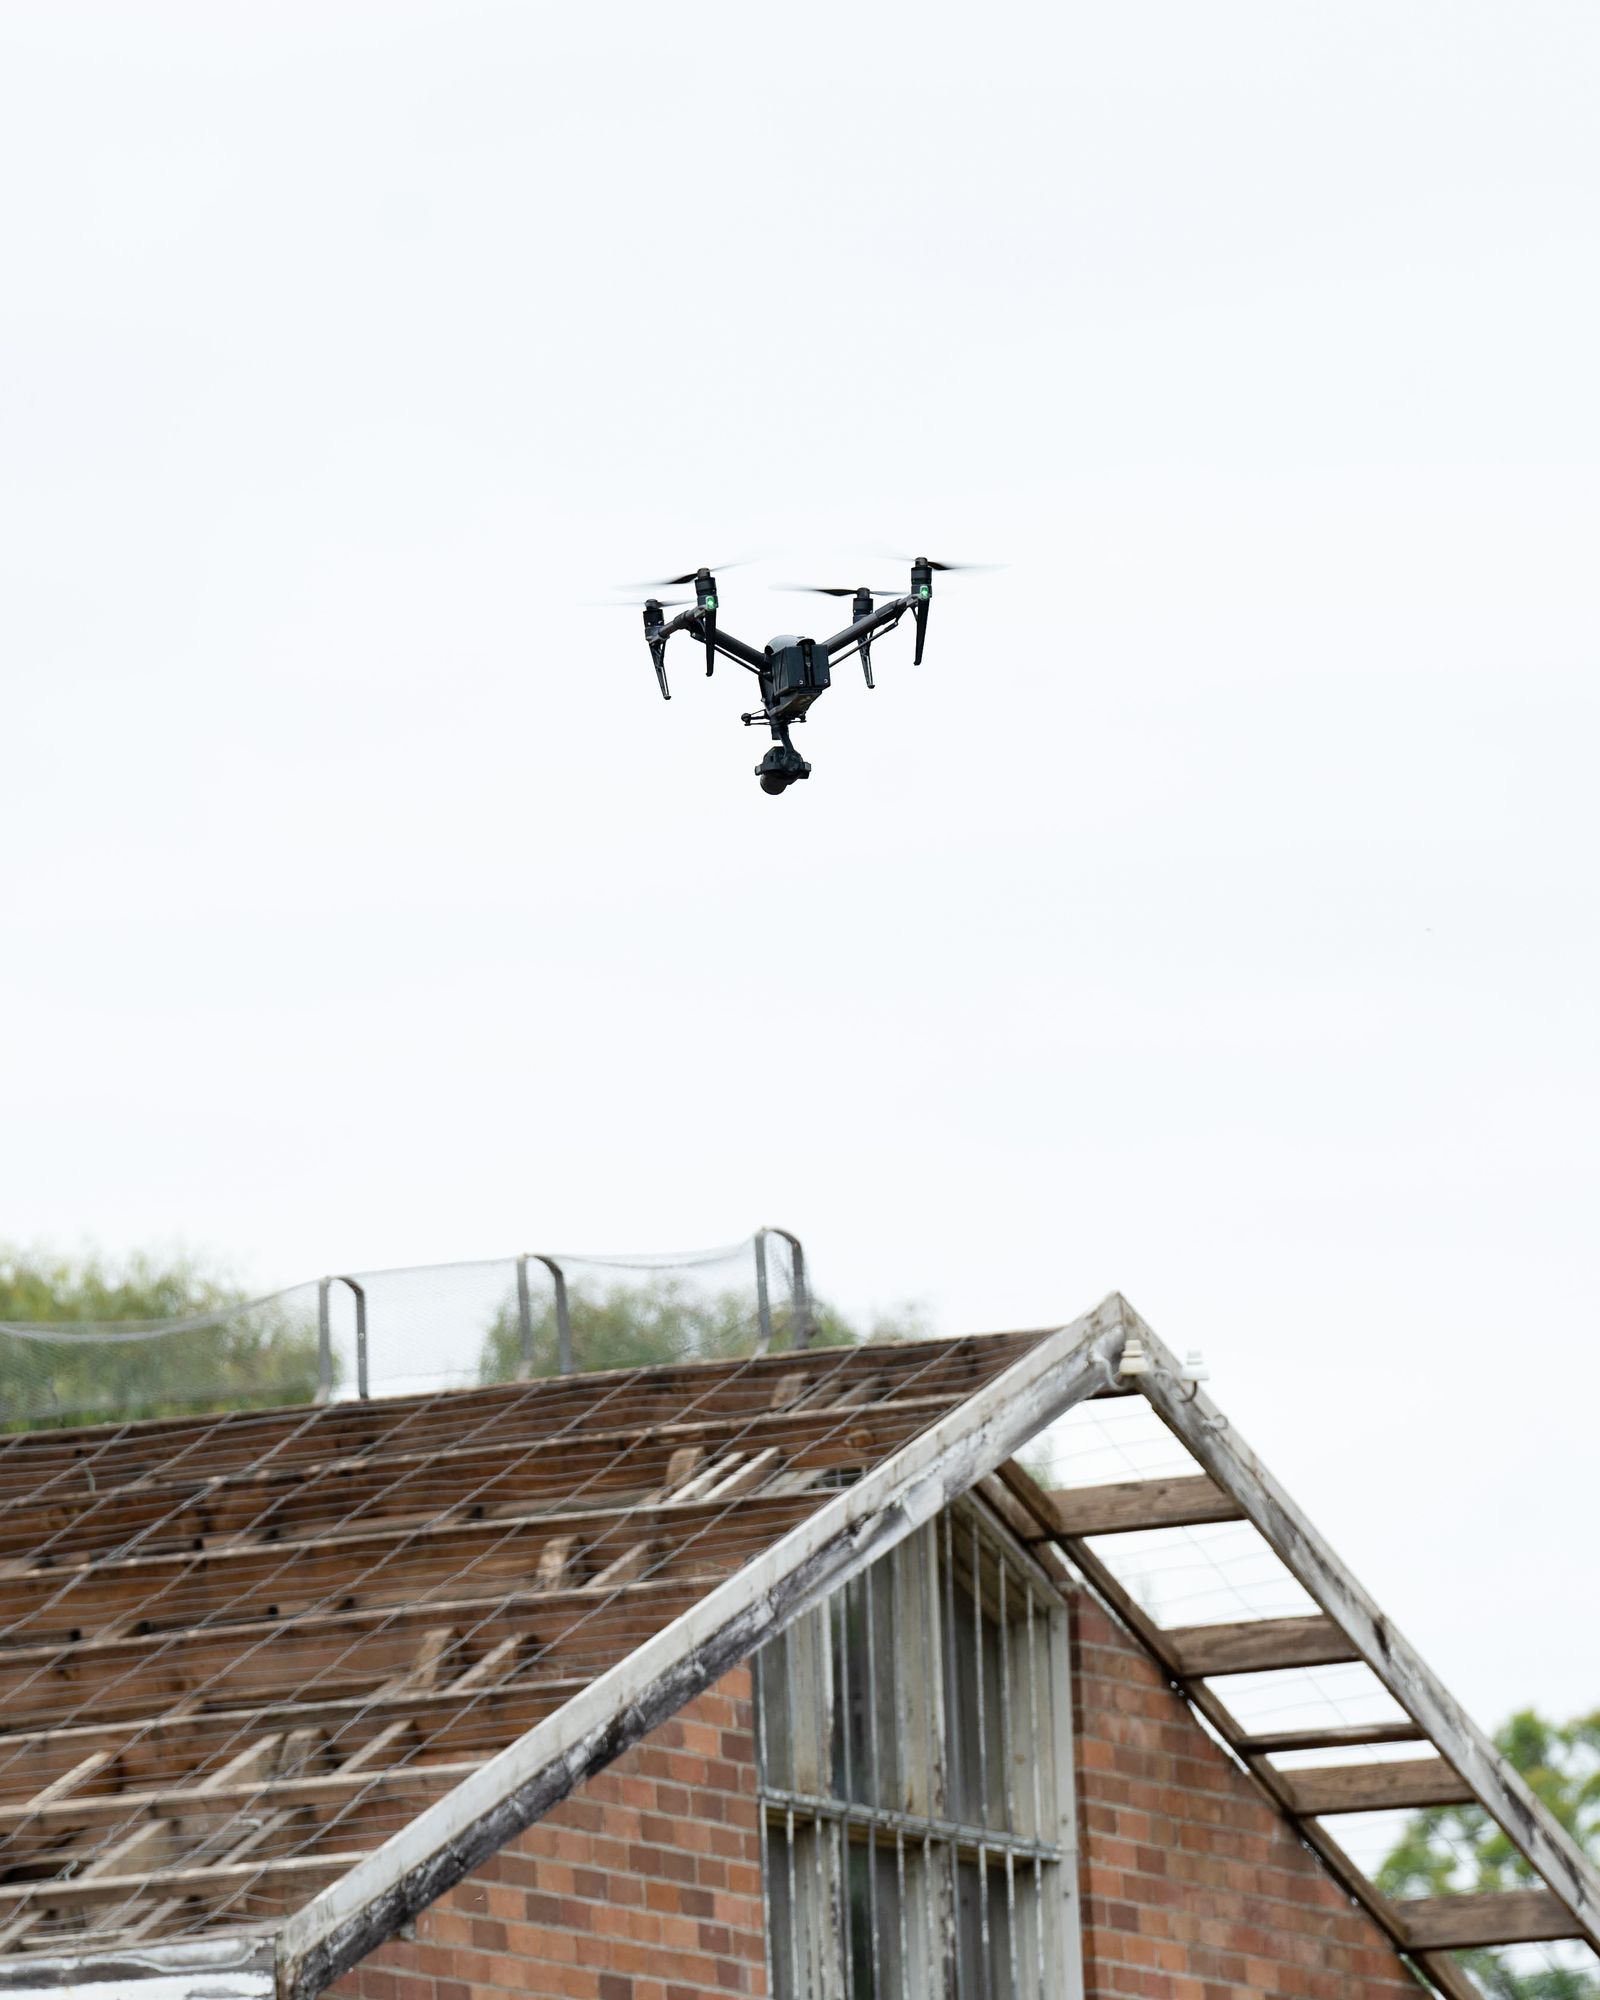
On-site adjuster inspections are what most homeowners picture. An adjuster arrives, walks the roof, and documents what they find. These typically run 45–90 minutes for a storm claim. An independent contractor inspection covers similar ground but typically lasts 45–90 minutes for a storm claim and produces a report written in your interest, not the carrier’s.
What the exterior check covers
- Shingles: granule loss, bruising, cracking, curling, missing tabs
- Flashing: around chimneys, skylights, valleys, and pipe boots
- Gutters and downspouts: granule accumulation, dents from hail, separation
- Ridgeline and decking: sagging, soft spots, visible deflection
- Vents and chimneys: cap damage, mortar cracks, flashing separation
- Moss, algae, or lichen growth that traps moisture against the substrate
- Number of existing shingle layers (multiple layers affect replacement eligibility)
What the interior check covers
- Attic decking for soft spots, rot, or staining from active or past leaks
- Insulation for moisture saturation or compression
- Ventilation adequacy (poor ventilation accelerates shingle degradation)
- Daylight visible through the decking (a serious structural flag)
Timing and cost at a glance
| Inspection type | Typical duration | When you see a carrier response |
|---|---|---|
| Drive-by / aerial (carrier) | No site visit | 3 business days after underwriting review |
| On-site adjuster inspection | 45–90 minutes | Settlement check commonly within 14–30 days after approval |
| Independent contractor inspection | 45–90 minutes | Report delivered within 24–72 hours; you submit to carrier |
| Exterior-only scan (pre-claim) | 15–45 minutes | Used for your records; no carrier timeline |
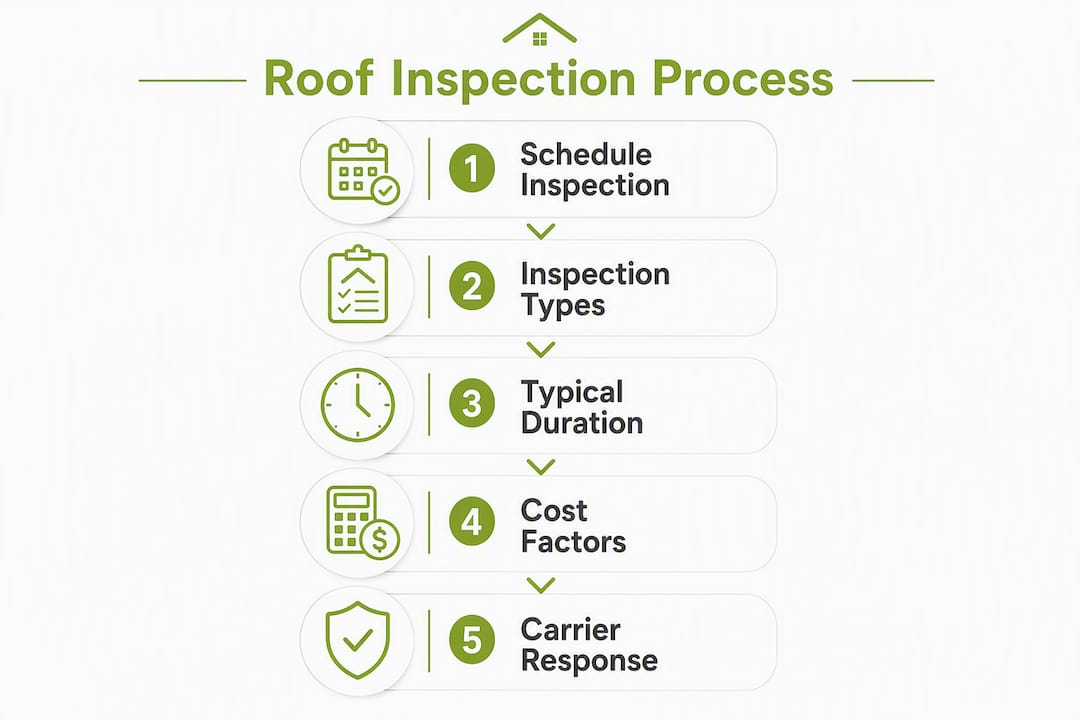
Third-party inspection fees vary by region, roof size, and complexity. Get at least two local quotes before hiring.
Pro Tip: If the carrier schedules an aerial or drive-by inspection without notifying you, upload your own timestamped photos and independent report to the claims portal before the carrier’s vendor submits their images. Your evidence needs to be in the file, not added as an afterthought.
How to spot storm damage versus normal wear
This is where most claims get won or lost. Insurers cover sudden, accidental losses from named perils. They do not cover gradual deterioration, deferred maintenance, or the cumulative effects of age. Knowing the difference before the adjuster arrives lets you document the right things.
Signs of coverable storm damage
- Hail impacts: Look for circular bruising or dents in the shingle mat, granule displacement exposing the dark fiberglass mat underneath, and corresponding dents in soft metals (gutters, vents, flashing). Fresh impacts have sharp edges; older ones are weathered.
- Wind damage: Missing shingles, lifted tabs with broken sealant strips, or shingles displaced in a pattern consistent with wind direction.
- Debris punctures: Localized tears or punctures from branches or projectiles, typically concentrated on one slope.
Signs of wear that insurers typically deny
- Widespread granule loss across the entire surface (age-related, not event-related)
- Curling or cupping shingles from thermal cycling over many years
- Multiple existing shingle layers indicating deferred replacement
- Moss or algae growth that has been present long enough to cause substrate damage
- Sagging ridgelines or soft decking from long-term moisture infiltration
The hail threshold you need to know
Adjusters commonly use a 10 ft × 10 ft test square to count functional hits per 100 sq ft. The industry threshold for triggering replacement is roughly 8–10 functional hits per 100 sq ft on a single slope, and many carriers expect damage across multiple slopes before approving a full replacement. Scattered dents that fall below this density often do not qualify. Your inspector should count and document hits per slope, not just note that hail was present.
Pro Tip: Photograph every impact with a coin (a quarter works well) placed directly next to it for scale. Then take a wide shot of the same slope showing the coin’s location in context. That pairing gives the adjuster both the detail and the density picture they need.
For proactive steps that reduce your exposure to this kind of damage in the first place, impact-resistant roof installation is worth understanding before the next storm season.
What a strong inspection report looks like
A report that wins claims is specific, visual, and opinionated. “Possible hail damage” is not a cause/opinion. “Hail impact on two slopes, 8–10 impacts per 100 sq ft, resulting in granule loss and mat exposure consistent with a storm event on [date]” is. That distinction is exactly what adjusters and underwriters look for.
Every credible inspection report for an insurance claim should include:
| Report field | Why it matters to the adjuster | Supporting evidence to attach |
|---|---|---|
| Inspector credentials and license number | Establishes report credibility and admissibility | Copy of license, certifications, proof of insurance |
| Date and time of inspection | Ties findings to a specific post-event window | Timestamped photos, weather event records |
| Cause/opinion statement | Distinguishes covered event damage from wear | Annotated photos, storm data |
| Scope of damage by slope | Quantifies extent; supports replacement vs. repair | Per-slope impact counts, measurements |
| Annotated photo gallery | Visual proof of each finding | Wide + close-up pairs, compass labels, scale markers |
| Line-item repair/replacement estimate | Establishes dollar value of the claim | Contractor estimate on letterhead |
| Maintenance history summary | Counters deferred-maintenance denial arguments | Receipts, prior repair invoices, dated photos |
On photo annotation: Label each photo with the slope (e.g., “North slope, ridge to eave”), compass direction, and approximate distance from the camera. Every close-up of an impact should have a matching wide shot that shows where on the roof that close-up was taken. Adjusters reviewing hundreds of photos per week will skip unlabeled images.
A contractor estimate alone is not a substitute for a cause/opinion inspection report. The estimate tells the carrier what the repair costs. The inspection report tells the carrier why the damage happened and whether it qualifies as a covered loss. You often need both documents. For a step-by-step walkthrough of how to document roof damage for your insurance claim, that process is worth reviewing before you file.
How to work with insurers and adjusters after an inspection
The claims process follows a predictable sequence, and knowing where you are in it prevents you from missing deadlines or submitting incomplete evidence.
Typical claims timeline:
- File the claim with your carrier (document the date and claim number).
- Carrier schedules an adjuster visit or orders an aerial inspection.
- On-site adjuster inspection occurs (45–90 minutes for a storm claim).
- Underwriting review of the adjuster’s findings.
- Settlement offer issued; check commonly arrives within 14–30 days after approval.
Negotiation tactics that work:
- Get your independent inspection report into the carrier’s file before the adjuster visits. Adjusters who arrive knowing a third-party report exists tend to be more thorough.
- Submit annotated photos and your contractor’s written estimate at the same time you file the claim, not after.
- When the adjuster’s scope differs from your inspector’s, request a line-by-line written comparison. Verbal disagreements disappear; written ones create a record.
- A third-party inspection report with photos and a clear repair estimate materially strengthens your bargaining position against the carrier’s adjuster report. Treat the claim as a negotiation, not an application.
When to escalate:
- The adjuster classifies storm damage as wear without citing specific evidence
- The carrier’s scope omits slopes your inspector documented
- A denial contradicts the cause/opinion in your inspection report
- The settlement amount does not cover the contractor’s line-item estimate
Documents to submit with your claim:
- Independent inspection report with cause/opinion and annotated photos
- Contractor’s line-item repair or replacement estimate
- Maintenance receipts and prior repair invoices
- Before-and-after photos with timestamps
- Weather event records (storm date, hail size reports from NOAA or local news)
Avoid letting the carrier conduct a voluntary inspection without your oversight. If the carrier’s inspector finds deferred maintenance issues before you do, those findings become part of your file and can be used against you. Get your own inspection first. For a deeper look at how roofing insurance claims work, that process is worth reviewing before you file.
How to choose the right inspector for an insurance claim
The inspector you hire shapes the entire claim. A weak report with vague language and unlabeled photos can actually hurt your position by giving the adjuster room to reinterpret findings in the carrier’s favor.
Independent inspector vs. roofing contractor: For a claim, you often need both. An independent certified inspector provides a neutral cause/opinion that carries weight with adjusters precisely because it is not written by someone who profits from the repair. A roofing contractor provides the scope and line-item estimate. Some contractors, like Sladeroof, do both.
Credentials to verify before hiring:
- State roofing contractor license (required in Idaho, Arizona, and Wyoming)
- General liability insurance and workers’ compensation coverage
- Industry certifications (NRCIA membership, manufacturer certifications)
- References from prior insurance claims they have supported
- A sample report you can review before hiring
Questions to ask any inspector or contractor:
- How many insurance claims have you supported in the past year?
- Can I see a sample inspection report with cause/opinion language?
- What is your turnaround time for the written report?
- Will you be available to speak with the adjuster or submit a supplemental estimate if needed?
- Do you carry errors and omissions insurance?
Red flags to walk away from:
- Verbal-only findings with no written report
- No photo documentation or photos without labels
- Pressure to let the carrier’s adjuster be the only inspection
- Reluctance to state a cause/opinion in writing
- No license or proof of insurance when asked
Pro Tip: Get your own independent inspection before the carrier’s adjuster visits. A carrier-led inspection without your oversight can document deferred maintenance issues that harm your claim. Know what is on your roof before the adjuster does.
How Sladeroof handles insurance-focused inspections
Sladeroof’s process is built around the claim, not just the repair. With over 20 years of experience spanning both roofing and insurance, the team approaches every inspection as documentation that has to hold up under adjuster scrutiny.
The Sladeroof inspection process:
- Safety triage first: Identify any immediate structural hazards before the full inspection begins.
- Timestamped photo documentation: Wide shots, close-ups, and annotated images organized by slope and compass direction.
- Cause/opinion inspection report: Written findings that state the likely cause, the scope per slope, and impact counts where hail is involved. Not “possible damage” — a defensible opinion.
- Line-item repair or replacement estimate: Contractor-grade scope that matches the inspection findings and gives the adjuster a specific number to work with.
- Adjuster accompaniment: Sladeroof can meet the carrier’s adjuster on-site, walk through the findings side by side, and submit supplemental estimates when the adjuster’s scope falls short.
Trust signals:
- Service areas: Idaho, Arizona, and Wyoming
- 25-year leak warranty and 50-year product warranty on qualifying installations
- Impact-resistant, wind-rated, hail-rated, and fire-rated material options that can reduce carrier risk assessments and, in some cases, lower premiums
- Transparent process: Sladeroof does not produce falsified reports. Every cause/opinion is backed by credentialed inspection and photographic evidence.
When a claim goes into dispute, Sladeroof provides documentation support, offers to meet the adjuster on-site for a second review, and submits supplemental estimates with the additional evidence the carrier needs to reconsider, including specialized balcony repair and code-compliant structural repairs when relevant. That kind of hands-on support is what separates a contractor who installs roofs from one who understands how insurance actually works.
Key Takeaways
A complete, cause/opinion inspection report with annotated photos and a line-item estimate is the single document that separates a paid claim from a denied one.
| Point | Details |
|---|---|
| Get your inspection first | Hire an independent inspector or Sladeroof before the carrier’s adjuster visits to control what goes into the file. |
| Cause/opinion language is non-negotiable | Your report must state a specific cause, not “possible damage” — vague language gives adjusters room to deny. |
| Hail thresholds are countable | Adjusters use 8–10 functional hits per 100 sq ft per slope; document impact density, not just presence. |
| Maintenance records prevent denials | Dated receipts and photos of routine upkeep counter deferred-maintenance arguments at renewal and claim review. |
| Sladeroof covers inspection through settlement | With 20+ years of insurance and roofing experience, Sladeroof handles inspection, documentation, adjuster accompaniment, and repair across Idaho, Arizona, and Wyoming. |
The case for getting ahead of the adjuster
Most homeowners file a claim and then wait to see what the adjuster finds. That sequence hands the carrier the first-mover advantage. The adjuster’s report becomes the baseline, and anything you submit afterward looks like a rebuttal rather than primary evidence.
The homeowners who get the best outcomes do the opposite. They have photos on file before any storm season. They know their roof’s age and maintenance history. When damage occurs, they call an inspector within 48 hours, not after the carrier schedules their visit. By the time the adjuster arrives, there is already a timestamped, cause/opinion report in the claims portal. The adjuster is responding to your evidence, not the other way around.
There is also a longer-term argument here that most guides skip. A well-documented roof, maintained and inspected proactively, is a lower-risk asset in the carrier’s model. Insurers flag roofs that look neglected because neglected roofs generate claims. A homeowner who can show a clean maintenance history and a recent professional inspection is, in actuarial terms, a better risk. That translates to fewer renewal surprises, fewer coverage adjustments, and in some cases, lower premiums over time.
The inspection itself costs a fraction of what a denied claim or a forced ACV settlement costs. Treating it as an optional step is the most expensive mistake a homeowner can make.
Sladeroof handles the inspection, the report, and the claim
Twenty years of roofing experience is useful. Twenty years of roofing experience combined with deep insurance knowledge is what actually gets claims paid. Sladeroof’s insurance claim assistance service covers the full process: on-site inspection, timestamped photo documentation, cause/opinion report, line-item estimate, adjuster accompaniment, and repair or replacement with impact-resistant materials backed by a 25-year leak warranty and a 50-year product warranty.

Homeowners in Idaho, Arizona, and Wyoming get a contractor who knows exactly what adjusters look for and builds the file to match. If your carrier has already scheduled an adjuster visit, there is still time to get an independent report into the portal first. If you are dealing with a denial or a scope dispute, Sladeroof can submit supplemental documentation and meet the adjuster on-site for a second review.
The next step is straightforward: schedule a roof inspection or call Sladeroof directly to discuss your claim situation. The sooner your documentation is in order, the stronger your position.
Useful sources
The following sources were used to verify claims, timelines, and industry thresholds throughout this article:
- NRCIA: Roof Inspection for Insurance Claim — Industry guidance on what a credible third-party inspection report must contain and how it functions as a counterbalance to the carrier’s adjuster report.
- NRCIA: Free Roof Inspection Report PDF Template — A downloadable inspection report template that outlines the fields required for insurance documentation.
- FORTIFIED Home Program (IBHS) — Industry standard for impact-resistant roofing designations that carriers recognize when assessing risk and setting premiums.
Recommended
Ready for a real answer on your roof?
Slade Roofing pairs licensed insurance agents with licensed roofers. Get your free inspection in about 30 seconds.
Get My Free Inspection →