Roof Warranty Transfer: What Homebuyers and Sellers Must Do
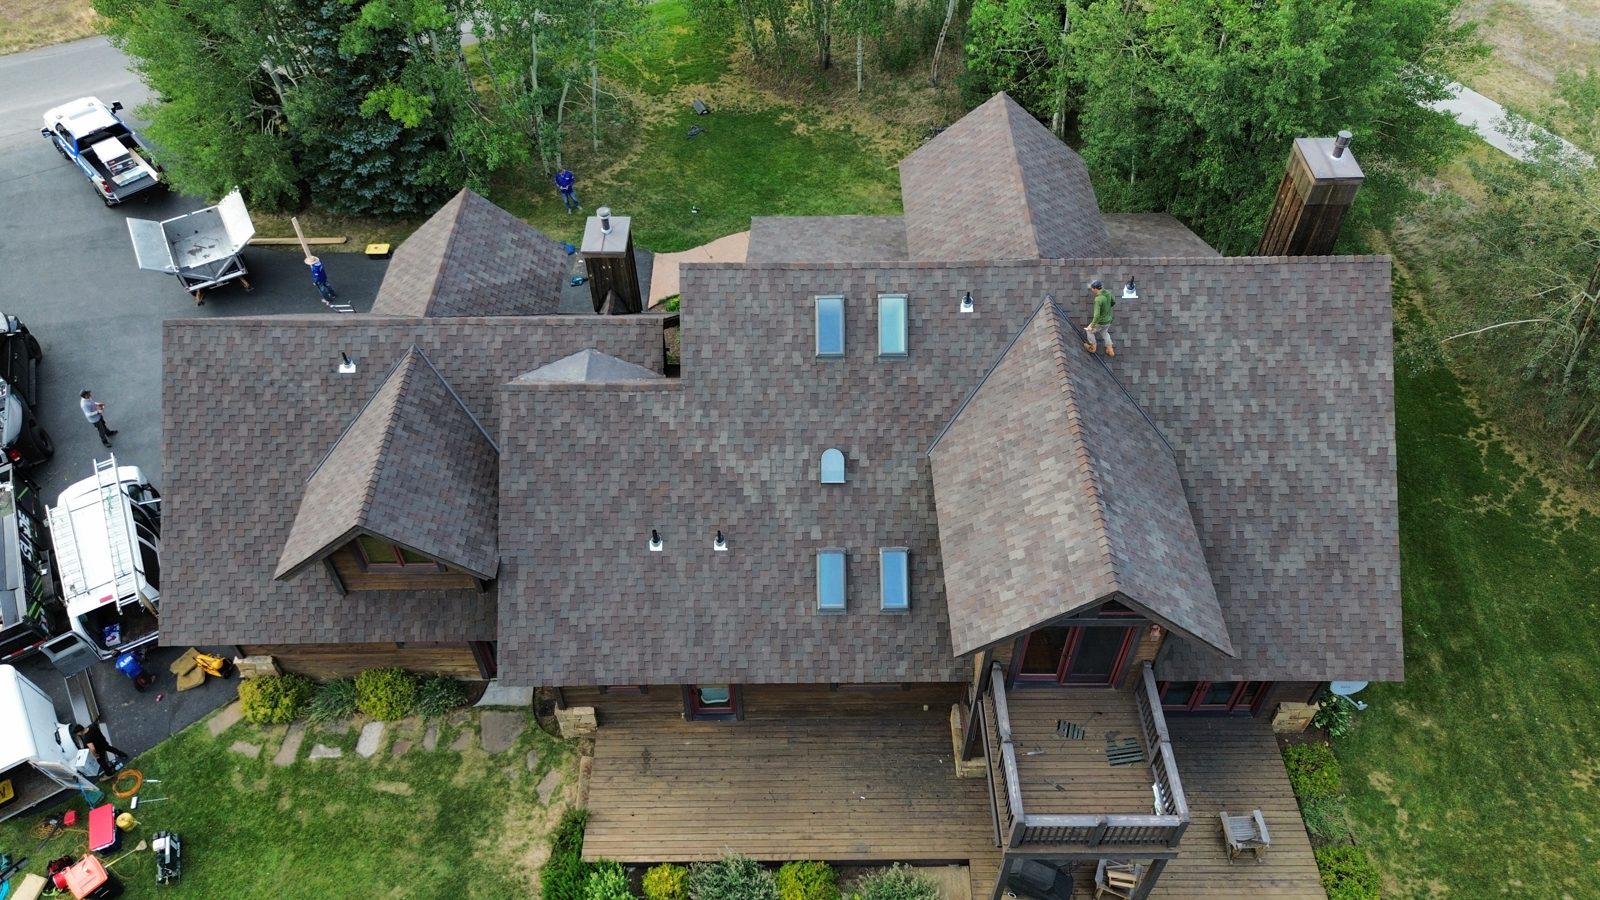
Most manufacturer roof warranties can be transferred to a new owner, but they almost never move automatically. The warranty stays with the property only if someone takes deliberate action, usually within a tight window after closing. According to NRCIA, many manufacturers require specific paperwork and strict deadlines, often 30–60 days, and missing that window typically voids transfer rights entirely.
Your first move: locate the original warranty certificate or closing deed right now and write down the warranty number and installation date. That single step keeps every option open.
What you need to know at a glance:
- Most manufacturer (material) warranties are transferable, usually once.
- Workmanship warranties from local contractors are usually not transferable.
- Deadlines are real. Miss the window and the coverage is gone.
- GAF, Owens Corning, and Atlas each have their own transfer rules and forms.
- Slade Roofing can help with inspections, documentation, and transfer support in Idaho, Arizona, and Wyoming.
Pro Tip: Before listing your home or making an offer, pull the roof warranty certificate and check the “Transferability” or “Assignment” clause. That one paragraph tells you whether a transfer is possible, how many times it can happen, and what the deadline is.
Key Takeaways
A roof warranty transfer requires deliberate action within a strict deadline, and missing that window permanently voids the coverage.
| Point | Details |
|---|---|
| Find the warranty immediately | Locate the warranty certificate, warranty number, and installation date before or right after closing. |
| Submit within the deadline | Most manufacturers require transfer requests within a 30 to 60 day window after closing; certain manufacturers such as Atlas and Owens Corning have specific 60-day deadlines. |
| Get written confirmation | Request a transferred certificate with the new owner’s name, effective date, and covered components. |
| If transfer fails, negotiate | Use a professional inspection, price credit, seller repairs, or NRCIA LeakFREE® certification as alternatives. |
| Sladeroof supports the process | Sladeroof provides pre-transfer inspections, documentation help, and repair work in Idaho, Arizona, and Wyoming. |
Table of Contents
- What does a roof warranty actually cover?
- What transfer rules and fine print should you watch for?
- How do you transfer a roof warranty step by step?
- What pitfalls void or block a transfer?
- How do you confirm a transfer is complete?
- What should buyers and sellers ask and negotiate during a home sale?
- What are your options when a warranty cannot be transferred?
- How Sladeroof helps with warranty transfers, inspections, and documentation
- The part of roof warranty transfers most people get wrong
- Sladeroof makes the transfer process less stressful
- Sources
What does a roof warranty actually cover?
Two distinct warranties typically come with a new roof, and they behave very differently during a sale.
Manufacturer (material) warranties cover defects in the roofing materials themselves, things like shingles that crack prematurely or underlayment that fails before its rated lifespan. These are the warranties most commonly transferable to a new owner. They are issued by the manufacturer, not the contractor, so the coverage follows the product rather than the original buyer.
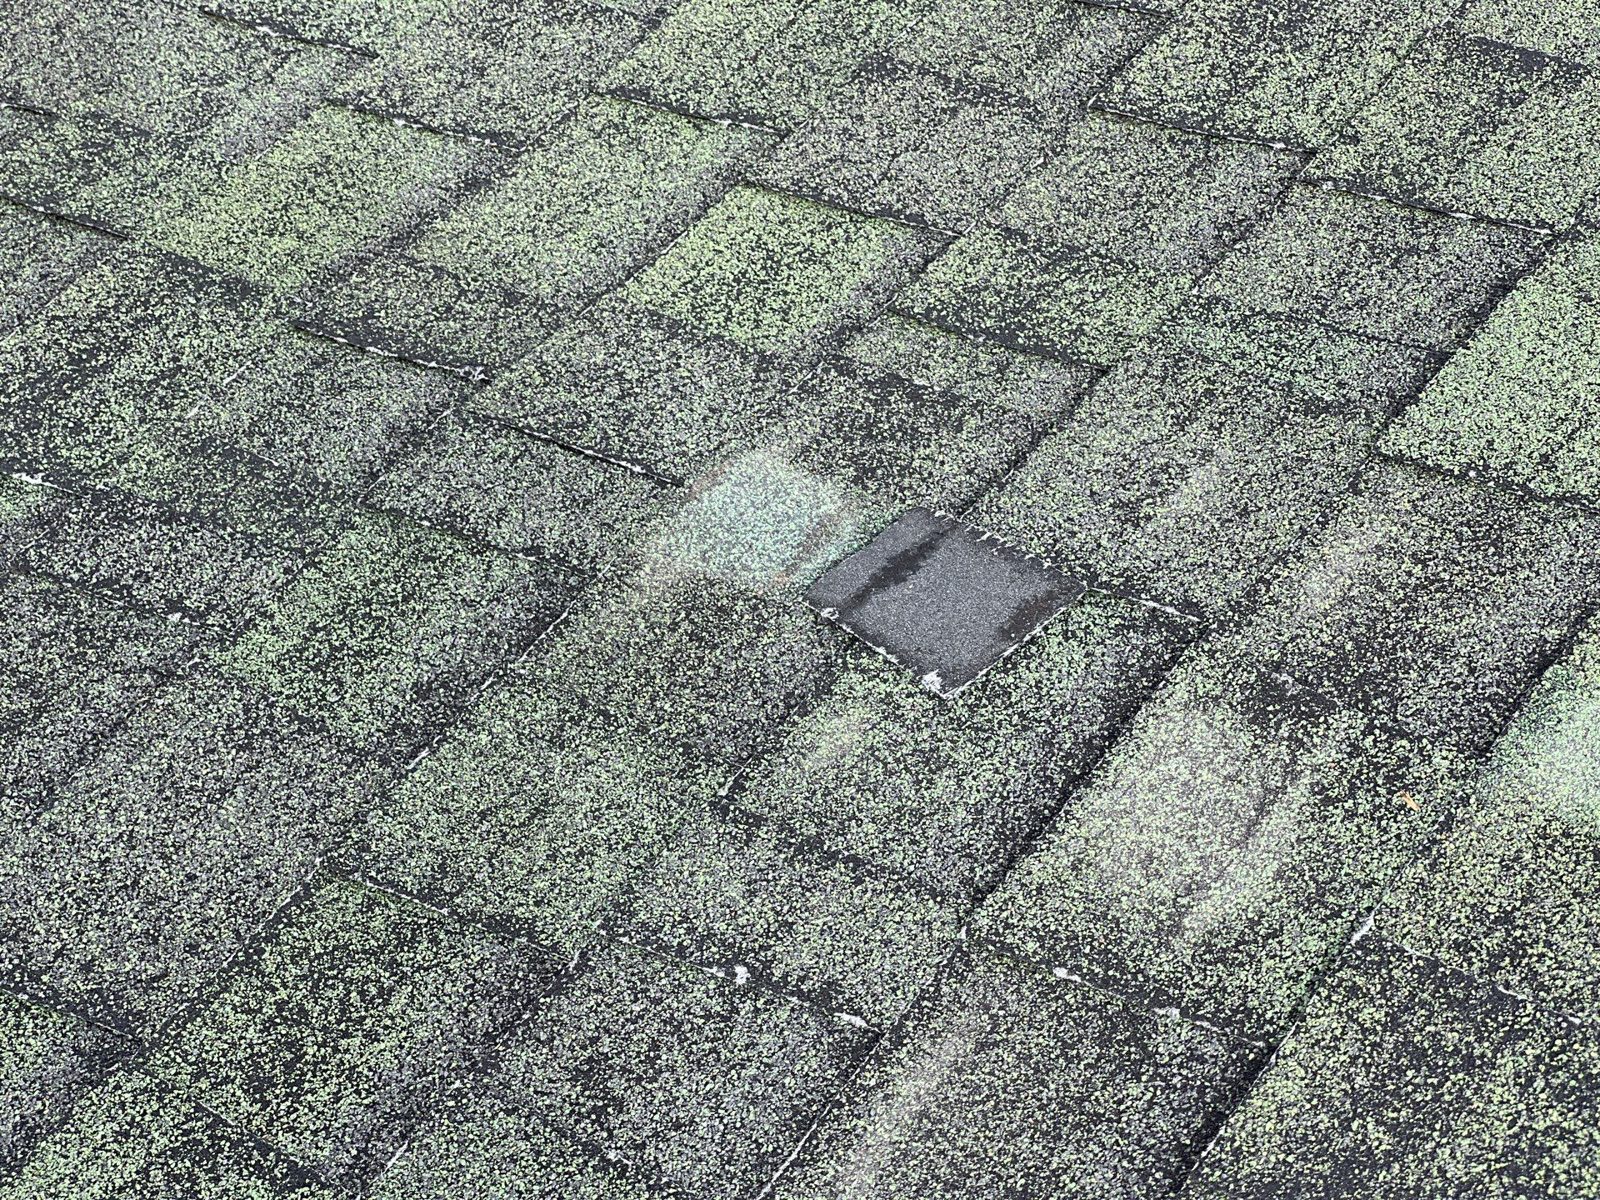
Workmanship (contractor) warranties cover installation errors. If the roofer missed a flashing detail or improperly nailed a ridge cap, this warranty addresses that. Industry experts at NRCIA confirm that workmanship warranties are often non-transferable and remain limited to the original contracting customer. Buyers who assume the full warranty package moves with the house are frequently surprised to find only the material portion survives the transfer.
Common exclusions that apply to both types
Standard roof warranties frequently exclude damage caused by acts of nature, neglect, or lack of mandated maintenance. Interior water damage, ruined ceilings, soaked insulation — those losses almost always fall to homeowner insurance, not the roofing warranty. Documentation of routine maintenance and inspections is often required to avoid claim denial, which is one reason keeping records matters long before a sale comes up.
| Warranty Type | Typically Transferable? | Common Proof Required |
|---|---|---|
| Manufacturer / material | Yes, usually once | Warranty certificate, proof of sale, installation date |
| Workmanship / contractor | Rarely | Varies; often non-transferable regardless |
| Extended manufacturer (enhanced) | Sometimes | Inspection, registration confirmation, transfer fee |
Pro Tip: Homeowner insurance covers interior consequential losses that a roof warranty excludes. If you’re a buyer, confirm both your warranty coverage and your insurance policy before closing so there are no gaps. Sladeroof’s insurance claim assistance page explains where the two overlap.
What transfer rules and fine print should you watch for?
The fine print in a roof warranty is where transfers succeed or fail. NRCIA’s transfer guide stresses that warranties are formal contracts requiring registration or transfer paperwork — not automatic property rights.
Most manufacturers allow only one transfer during the warranty’s life. A few allow more, but that is the exception. Time windows vary: Owens Corning requires submission within 60 days of closing, and Atlas sets the same 60-day deadline while also charging a $100 transfer fee and permitting only a single transfer during defined warranty periods. GAF notes that its transfer windows vary by product, with some residential warranties allowing transfer within the first year after property transfer.
Terms to find in your warranty document:
- “Transferable” or “Assignment” clause — confirms whether transfer is permitted at all
- Transfer deadline — the exact number of days after closing you have to act
- Transfer fee — Atlas charges $100; other manufacturers may charge differently or nothing
- Required documents — what proof of sale, ownership, and installation the issuer needs
- Required inspection — some enhanced warranties require a physical inspection before transfer
- Maximum number of transfers — most allow one; confirm before assuming otherwise
- Age-based coverage reduction — some warranties reduce coverage after a transfer
Warning: Missing the transfer deadline typically voids transfer rights with no automatic grace period. There is no appeal process at most manufacturers once the window closes.
How do you transfer a roof warranty step by step?
The process is straightforward when you start early. Both sellers and buyers can initiate it, but someone has to move first.
- Locate the original warranty certificate. Find the warranty number, the installation date, and the manufacturer’s name. Check closing files, the previous owner’s paperwork, or the installing contractor’s records.
- Gather your proof of sale or closing documents. The deed, HUD-1 or closing disclosure, or settlement statement all work. The issuer needs to confirm the property changed hands.
- Confirm the transfer deadline. Read the warranty document or call the manufacturer’s warranty line. Note the exact number of days you have from the closing date.
- Contact the manufacturer. Owens Corning and GAF both provide online portals and phone lines for transfer requests. Atlas requires an online Warranty Transfer Application. Have the warranty number, installation date, and property address ready before you call or log in.
- Submit the transfer form with all required documents. Typical package: original warranty certificate, proof of purchase or invoice from the original installation, deed or closing statement, installer contact information, and photos if the issuer requests them.
- Pay any required transfer fee. Atlas charges $100. Confirm the amount before submitting so the application isn’t held up.
- Track your submission. Note the confirmation number or case reference. Follow up if you haven’t received written approval within two weeks.
- Obtain written confirmation. Get a transferred warranty certificate by email or mail. Store it with your closing files immediately.
Documents to collect before you submit:
- Original warranty certificate (with warranty number)
- Proof of purchase or contractor invoice from original installation
- Deed or closing disclosure
- Installation date and installer contact information
- Photos of the roof (if requested by the issuer)
Pro Tip: Submit the transfer request the week after closing, not the week before the deadline. Manufacturers can take several business days to process applications, and a late submission is treated the same as no submission.
What pitfalls void or block a transfer?
Most failed transfers come down to one of a handful of preventable problems.
Common issues that kill a transfer:
- The original installer never registered the product warranty with the manufacturer. The warranty exists on paper but has no active record in the manufacturer’s system.
- Required maintenance inspections were skipped, which voids coverage regardless of transfer status.
- The warranty has already been transferred once and the manufacturer’s one-transfer limit is now exhausted.
- The seller assumed the workmanship warranty was transferable when only the material warranty was.
- The transfer paperwork was incomplete, missing the warranty number, installation date, or proof of sale.
- The deadline passed before anyone initiated the process.
These problems show up during sales more often than most people expect. A seller lists a home believing the 30-year manufacturer warranty is a selling point, only to discover at closing that the installer never registered the product. The buyer is left with no coverage and no recourse against the manufacturer. NRCIA emphasizes that active, documented steps are required — the warranty does not move on its own.
Pro Tip: Sellers should check manufacturer registration status before listing. Call the manufacturer’s warranty line with the installation date and address. If the product was never registered, some manufacturers will still accept a late registration with proof of installation — but that window is narrow, so act before you list, not after you’re under contract.
How do you confirm a transfer is complete?
Written confirmation is the only proof that counts. A phone call saying “it looks good” is not a transferred warranty.
Items to request from the issuer once the transfer is processed:
- Transferred warranty certificate showing the new owner’s name and property address
- Effective date of the transferred coverage
- List of covered components (shingles, underlayment, accessories)
- Transfer approval number or case reference
- Issuer contact information for future claims
Manufacturers typically send confirmation by email or mail within a few business days of approving the transfer. If you submitted through an online portal, log back in and download the updated certificate directly. Keep both a digital copy (in cloud storage or email) and a printed copy with your closing paperwork. If you ever need to file a claim, the transferred certificate is the first document the manufacturer will ask for.
One field that buyers often overlook: the effective date on the transferred certificate. Confirm it matches your closing date, not a later date that would leave a gap in coverage.
What should buyers and sellers ask and negotiate during a home sale?
Warranty status is a legitimate negotiation point, and most buyers never use it.
Questions buyers should ask before making an offer:
- Who issued the roof warranty, and is it a manufacturer or workmanship warranty?
- Is the warranty transferable, and has it already been transferred once?
- When does the warranty expire?
- Has the warranty been registered with the manufacturer?
- Is there a transfer fee, and who pays it?
- Are there any required inspections to complete the transfer?
Negotiation options for sellers:
- Disclose transfer rules in the listing description so buyers aren’t surprised at closing.
- Offer to cover the transfer fee as part of the sale terms.
- Pre-pay a required inspection before listing so the warranty is transfer-ready.
- Make transferability a contingency in the purchase contract if you’re uncertain about registration status.
Closing checklist — include these in the purchase contract:
- Copy of the original warranty certificate
- Transfer instructions from the manufacturer
- Installer name and contact information
- Statement specifying which party (buyer or seller) will initiate and complete the transfer
- Deadline for transfer completion relative to the closing date
For sellers dealing with a roof that has known damage, the partner resource on selling a house with roof damage covers disclosure and pricing strategy in detail.
What are your options when a warranty cannot be transferred?
A non-transferable warranty is not the end of the negotiation. Buyers have real alternatives.
For buyers:
- Get a professional roof inspection before closing. A licensed inspector can assess remaining useful life, identify existing damage, and give you a written report to use in negotiations.
- Negotiate a price credit or seller concession based on the roof’s condition and the lost warranty value.
- Require targeted repairs at the seller’s expense as a closing condition.
- Ask about third-party certification programs. NRCIA’s LeakFREE® certification is one example of a transferable, renewable inspection-based certification that can substitute for a manufacturer warranty when the original coverage cannot move.
- Add a conditional clause to the purchase agreement tying the closing price or a credit to the outcome of a roof inspection.
For sellers:
- Order a professional inspection before listing and share the report with buyers. A clean inspection report removes uncertainty and supports your asking price.
- Offer to complete any repairs needed to bring the roof to a transferable or insurable condition.
- Pay the transfer fee and initiate the paperwork before closing so the buyer receives a transferred certificate at settlement.
The goal on both sides is the same: reduce uncertainty about what happens to the roof after the sale. A pre-transfer inspection accomplishes that faster than any negotiation back-and-forth.
How Sladeroof helps with warranty transfers, inspections, and documentation
Sladeroof brings over 20 years of combined roofing and insurance experience to the transfer process, which means the team understands both what manufacturers require and what insurers expect.
Services that directly support warranty transfers:
- On-site verification of installation date, materials used, and existing condition
- Help locating original paperwork and confirming manufacturer registration status
- Pre-transfer inspections and targeted repairs to meet transfer inspection standards
- Guidance through manufacturer online portals and submission requirements
- Follow-up support until written confirmation is received
Sladeroof’s warranty packages include a 25-year leak warranty and a 50-year product warranty on qualifying installations, which means buyers who work with Sladeroof on a new roof start with documentation that is built to transfer cleanly. Service areas cover Idaho, Arizona, and Wyoming. For existing roofs, the team can inspect, document, and repair before or after closing to preserve whatever coverage remains.
Pro Tip: If you’re a buyer and the seller’s warranty situation is unclear, schedule a Sladeroof inspection before your inspection contingency expires. The written report gives you leverage in negotiations and a clear picture of what you’re buying.
For residential properties, the residential roofing services page covers inspection and repair options. Commercial property owners can find relevant services at Sladeroof’s commercial roofing page.
The part of roof warranty transfers most people get wrong
The conventional advice on roof warranty transfers focuses almost entirely on paperwork and deadlines, which is correct but incomplete. The bigger problem is earlier: most homeowners never confirm that the warranty was registered in the first place.
A warranty certificate in a filing cabinet means nothing if the installer never activated it with the manufacturer. That gap is surprisingly common, and it surfaces at the worst possible moment — during a sale, when time pressure is highest and leverage is lowest. By the time a buyer’s inspector flags a registration problem, the seller is already committed to a closing date.
The fix is simple but requires acting before the listing goes live. Call the manufacturer, give them the installation address and date, and ask whether the warranty is active in their system. If it isn’t, some manufacturers will still register it retroactively with proof of installation. That call takes ten minutes and can preserve tens of thousands of dollars in coverage value.

The second thing most guides underweight: workmanship warranties. Buyers often negotiate hard to keep the manufacturer warranty transferable while ignoring the workmanship coverage entirely. Then, six months after closing, a flashing leak appears that is clearly an installation error, not a material defect. The manufacturer warranty doesn’t cover it. The contractor warranty didn’t transfer. The buyer is left paying out of pocket for someone else’s mistake.
Ask explicitly about the workmanship warranty before you close. If it doesn’t transfer, price that risk into your offer or require a seller-paid inspection that specifically evaluates installation quality. That is a more useful negotiation lever than fighting over the transfer fee.
Sladeroof makes the transfer process less stressful
When a roof warranty transfer stalls because of missing records, a failed inspection, or a registration gap, the fastest path forward is a contractor who understands both the roofing and the paperwork side. Sladeroof does both.
With 20+ years of combined roofing and insurance experience, Sladeroof handles pre-transfer inspections, repairs needed to meet manufacturer transfer standards, and documentation support for buyers and sellers across Idaho, Arizona, and Wyoming. The team knows what GAF, Owens Corning, and Atlas require, and can help you gather the right records before the deadline hits.
Warranties on Sladeroof installations include a 25-year leak warranty and a 50-year product warranty, built to transfer cleanly when the time comes. Whether you need an inspection before listing, a repair to satisfy a transfer requirement, or a new installation with documentation that holds up, Sladeroof’s residential roofing services are the starting point. Contact Sladeroof to schedule an inspection or get transfer support before your closing window closes.
Sources
The following sources were used throughout this guide and are the best starting points for verifying transfer rules, finding forms, and confirming deadlines for specific manufacturers:
- Is Your Roof Warranty Transferable to a New Owner? | NRCIA
- How to Transfer a Roof Warranty | Owens Corning Roofing Blog
- Atlasroofing
- Can You Transfer Your Home’s Roof Warranty | GAF
Recommended
Ready for a real answer on your roof?
Slade Roofing pairs licensed insurance agents with licensed roofers. Get your free inspection in about 30 seconds.
Get My Free Inspection →