
TPO Hail Damage: A Property Owner’s Repair Guide
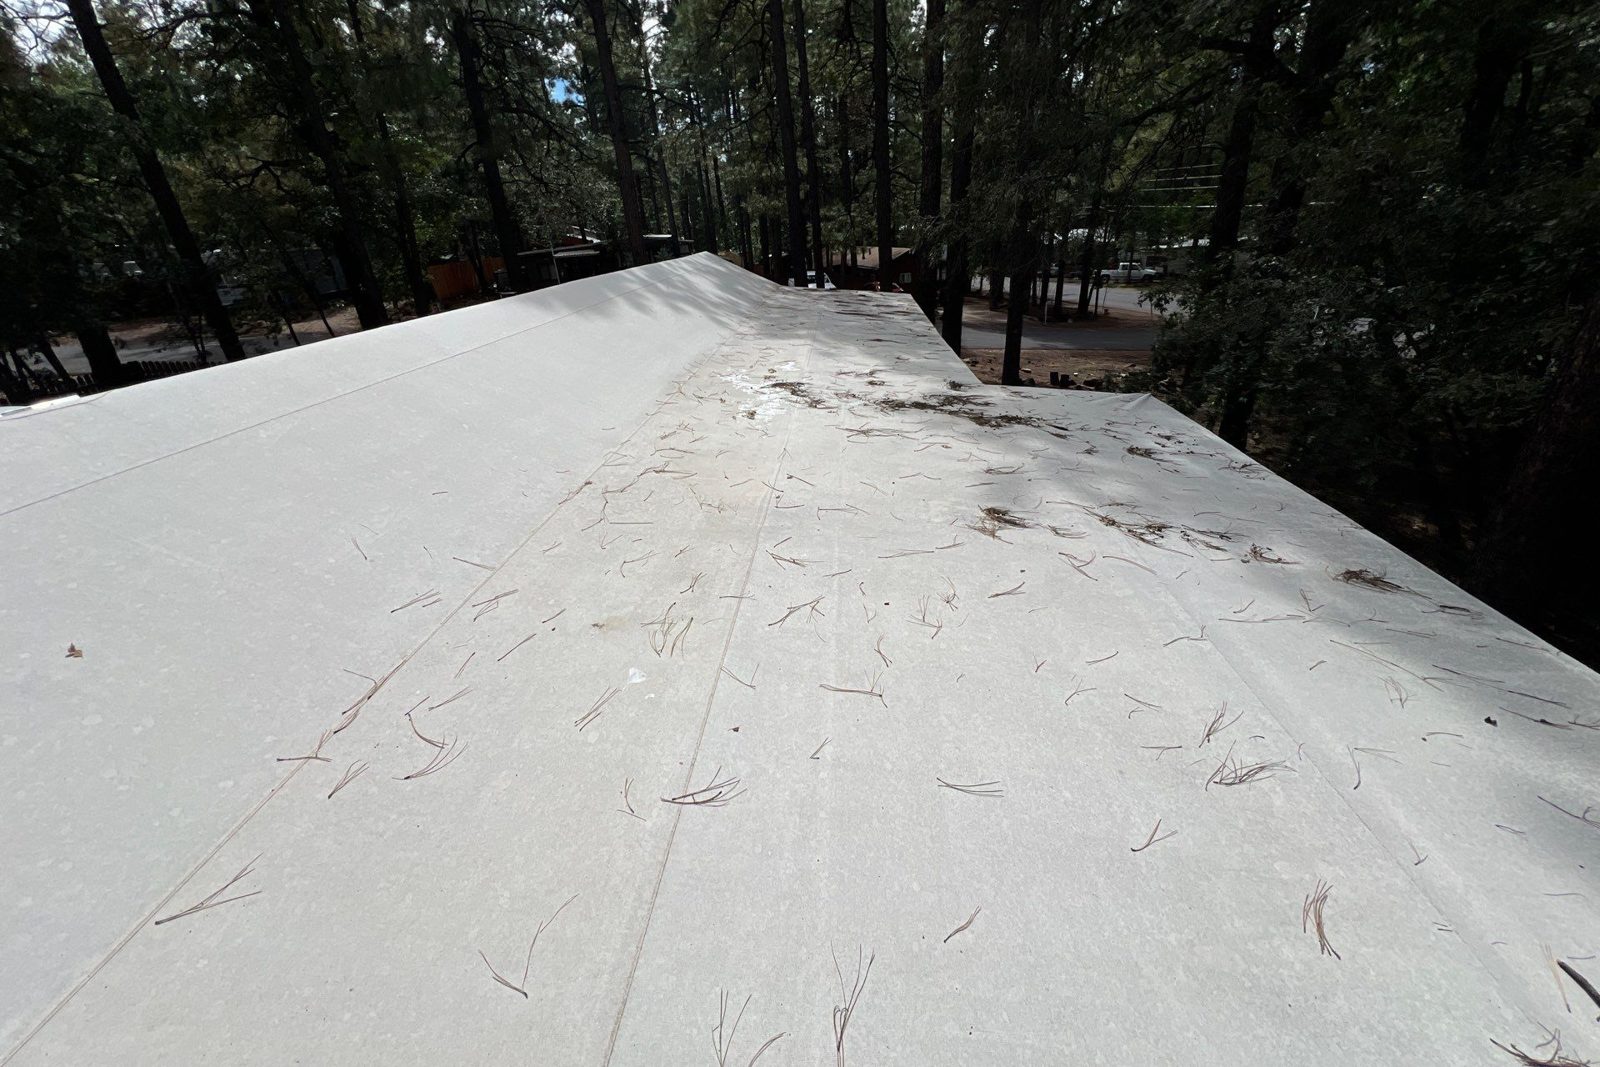
Yes, hail can and does functionally impair TPO membranes. If you’ve just had a storm roll through, start with one action: get on the roof safely, photograph every visible impact, and schedule a professional inspection before filing anything with your carrier.
TPO hail damage ranges from cosmetic surface marks to full punctures and crushed insulation underneath a membrane that still looks intact from the surface. That last scenario is the one that catches property owners off guard. Lab testing under UL 2218 and FM 4470 standards sets benchmarks for impact resistance, but those assume new membranes under ideal conditions. A 10-year-old 45mil TPO in a hail corridor behaves very differently than a freshly installed 60mil assembly.
- Document first. Photograph every impact site from close-up, mid-range, and overhead before anything is disturbed.
- Do not walk damaged zones. Foot traffic on bruised insulation compounds the compression damage.
- Arrange a professional inspection. Visual checks alone miss subsurface insulation failures that only core sampling or infrared scanning can confirm.
- Notify your carrier promptly. Most commercial policies have a reporting window; missing it can complicate your claim.
Pro Tip: Take photos within 24–48 hours of the storm. Timestamps on your images are one of the first things an adjuster checks to establish causation.
Table of Contents
- What does hail damage look like on a TPO roof?
- How hail size, membrane thickness, and age change your risk
- How to inspect and document your roof after a hail event
- How hail affects insulation, R-value, and long-term performance
- Patching vs. full replacement: how to make the right call
- Filing an insurance claim for TPO hail damage
- How to reduce hail risk on your TPO roof going forward
- When should you hire a professional roofer or engineer?
- Key Takeaways
- The case for engineering your repairs, not just making them
- Sladeroof’s inspection and repair process for hail-damaged TPO roofs
- Useful sources and further reading
What does hail damage look like on a TPO roof?
Hail damage on TPO roofing follows recognizable patterns, but some of the most consequential damage is invisible from the surface. Knowing what to look for, and where to look, is what separates a useful photo set from one an adjuster can dismiss.
The hallmark visual signs of TPO hail damage include:
- Concentric circular fractures: Ring-shaped cracks radiating outward from the impact point, similar to a bullseye. These indicate the membrane has been stressed beyond its elastic limit.
- Star-shaped cracks: Multi-directional fractures that suggest a higher-energy impact or a membrane already weakened by UV degradation.
- Surface punctures: Clean holes or tears where the hailstone fully penetrated the membrane. These are the most urgent because they allow immediate water entry.
- Depressed or bruised areas: Soft, slightly sunken zones where the underlying insulation has been compressed. The membrane may appear intact, but the insulation beneath is crushed.
- Translucent dark spots: Areas where the membrane has thinned or where moisture has begun migrating into the insulation board, visible as a subtle darkening when viewed at an angle in sunlight.
The most dangerous hail impacts on a TPO roof are the ones you can’t see from the surface. Lehigh University and GAF research confirms that cone-shaped cracking in gypsum coverboards can occur at relatively low impact energies while the membrane above remains visually undamaged. A roof that “looks fine” after a storm may still have compromised insulation and a shortened service life.
The difference between cosmetic marks and functional impairment comes down to whether the top ply has been fractured or the insulation has been crushed. A surface scuff that doesn’t penetrate the reinforcing scrim is cosmetic. A fracture that reaches through the membrane, or a bruise over a zone where the insulation now reads wet on a moisture meter, is a functional failure.
Photo protocol: Shoot each impact site at three distances: close-up with a ruler or coin for scale, mid-range showing the surrounding membrane condition, and overhead showing the density of impacts across a 10-foot section. Label each photo with the roof zone (e.g., “NW quadrant, 15 ft from parapet”) and let your camera’s timestamp do the rest.
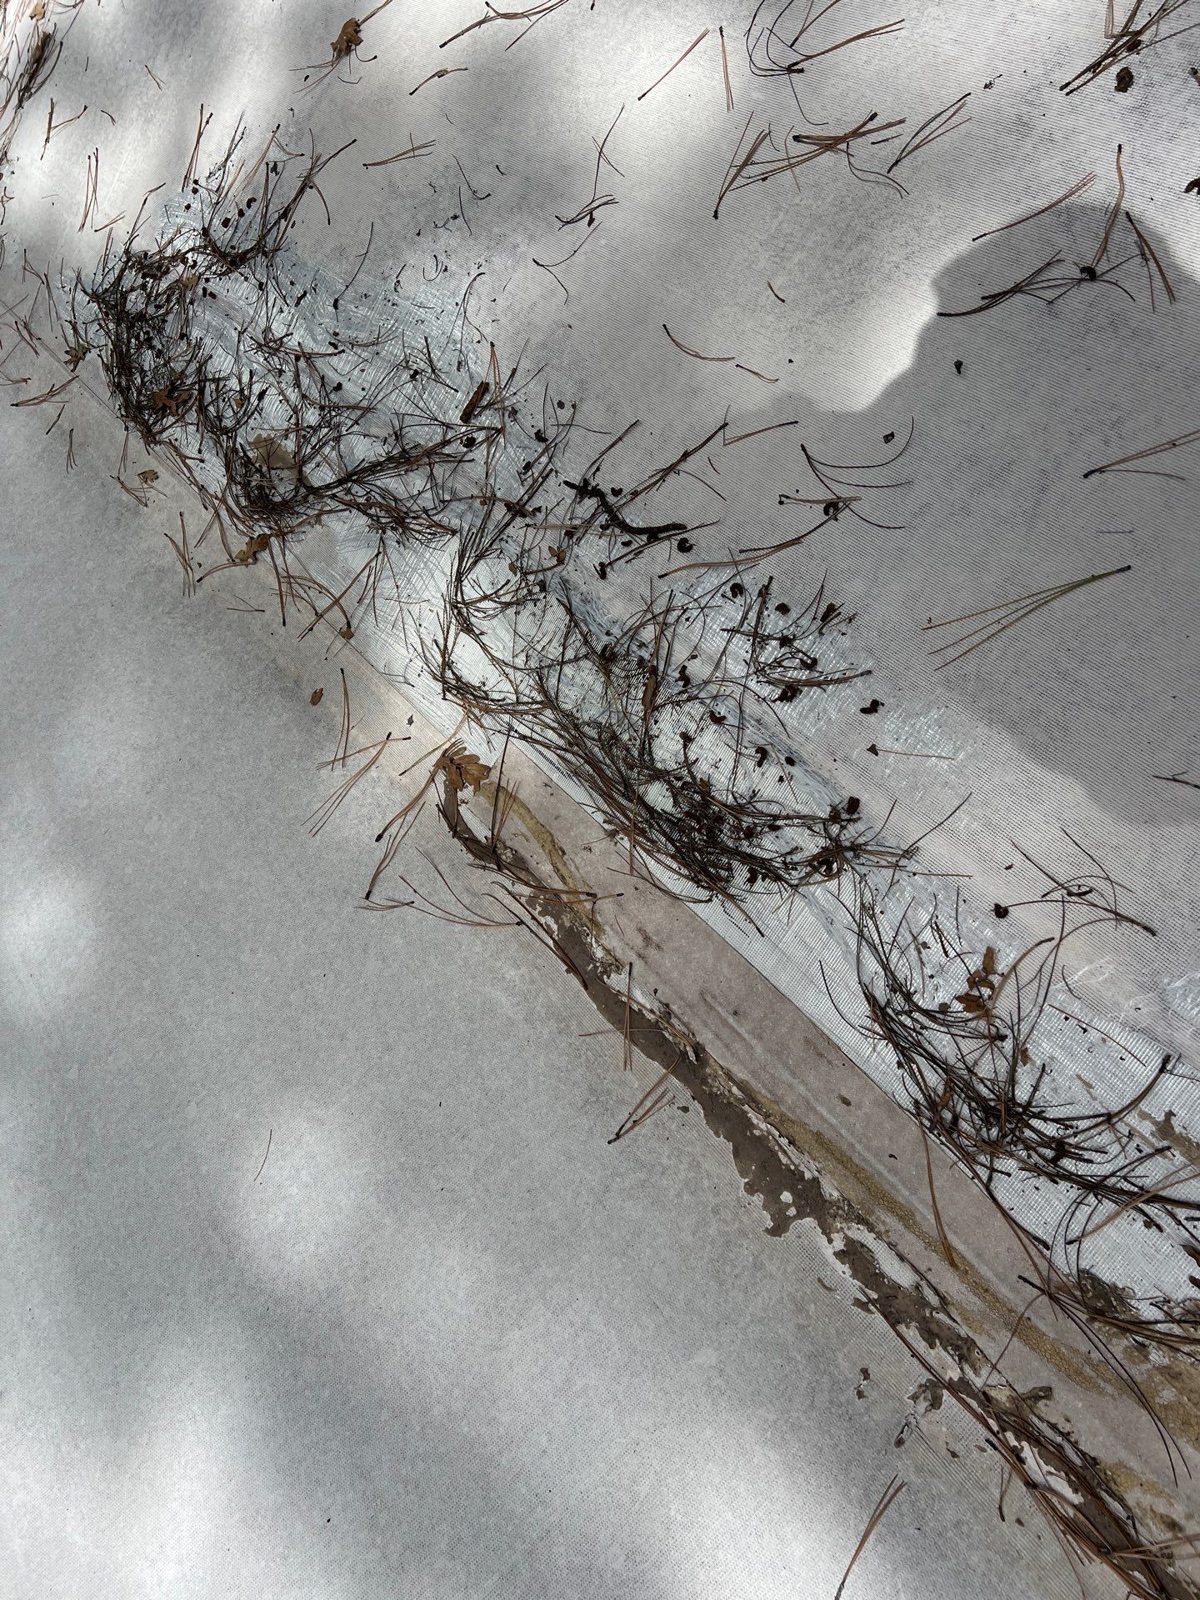
Pro Tip: Photograph the HVAC curbs, pipe boots, and flashings separately. These are high-stress zones where hail damage is easy to miss and where leaks start first.
| Visual Sign | What It Means |
|---|---|
| Concentric fractures | Membrane stressed past elastic limit; check for through-fractures |
| Star-shaped cracks | High-energy or UV-degraded membrane impact; likely functional failure |
| Punctures | Immediate water entry risk; repair or replace urgently |
| Depressed/bruised areas | Insulation compression beneath intact membrane; core sample needed |
| Translucent dark spots | Possible moisture migration; moisture meter and infrared scan required |
How hail size, membrane thickness, and age change your risk
Not all hail events are equal, and not all TPO roofs respond the same way to the same storm. Three variables drive the outcome: hail size (which determines kinetic energy), membrane thickness, and the membrane’s age and condition.
Lab thresholds vs. field reality
UL 2218 Class 4 is the highest impact-resistance rating, corresponding to repeated strikes simulating up to 1.75-inch hailstones under controlled lab conditions. FM 4470 uses a similar steel-ball drop protocol. Both ratings assume a new membrane, proper installation, and a clean substrate. In the field, those conditions rarely hold for a roof more than a few years old.
Membranes often fail at hail sizes and impact energies that the same membrane would have resisted when new, because UV exposure and thermal cycling progressively embrittle the material. A Class 4 rating on the spec sheet does not guarantee the same performance on an older roof.
Mil thickness matters more than most owners realize
| Membrane Thickness | Typical Use Case | Impact Resistance Profile |
|---|---|---|
| 45mil | Budget installs, re-covers | Lowest; most vulnerable to hail above 1 in |
| 60mil | Standard commercial | Materially better; roughly 40% lower failure rates vs. 45mil under comparable impacts |
| 80mil | High-risk zones, hail corridors | Best field performance; recommended for areas with frequent large hail |
The 60mil vs. 45mil gap is significant. For a building in Idaho, Wyoming, or Arizona, where hail events are a regular seasonal reality, specifying 60mil or 80mil at installation is one of the most cost-effective decisions a property owner can make.
Pro Tip: If you don’t know your membrane’s thickness, a contractor can verify it with a simple core cut. That single data point changes the entire repair-vs-replace conversation.
Kinetic energy and impact angle
Hail damage isn’t just about diameter. A 1-inch stone at 60 mph carries significantly more energy than the same stone at 30 mph. Wind-driven hail hits at an angle, concentrating force on flashings, parapet edges, and equipment curbs rather than the flat field membrane. Those perimeter zones are where hail damage on TPO roofing tends to be most severe and most likely to cause immediate leaks.
How to inspect and document your roof after a hail event
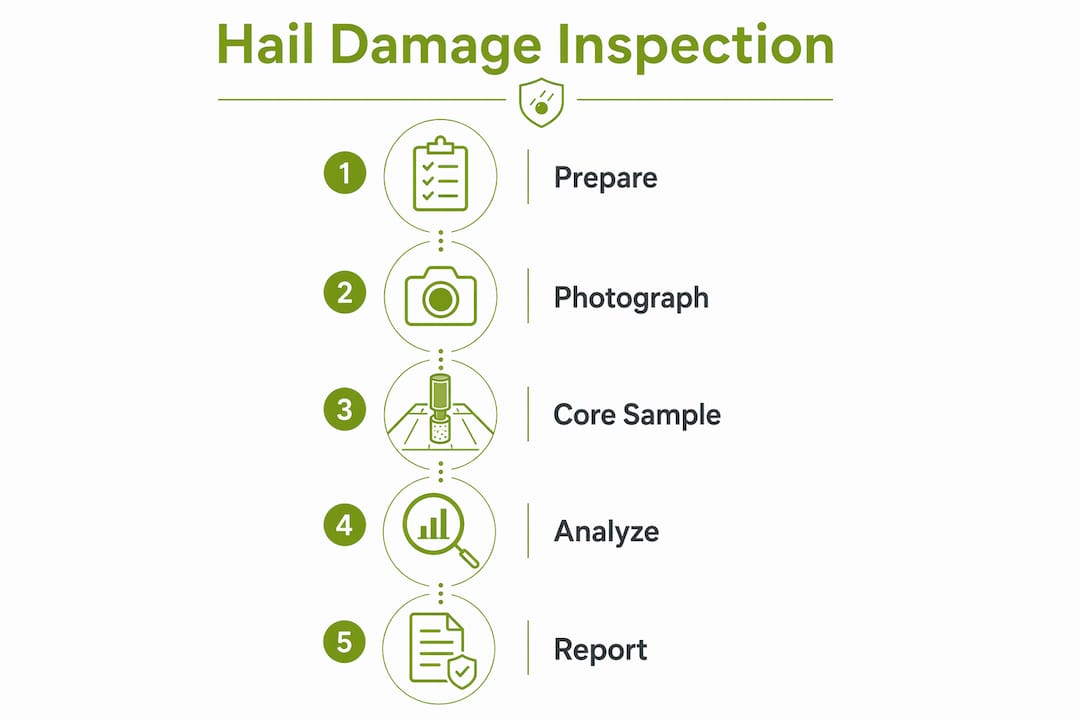
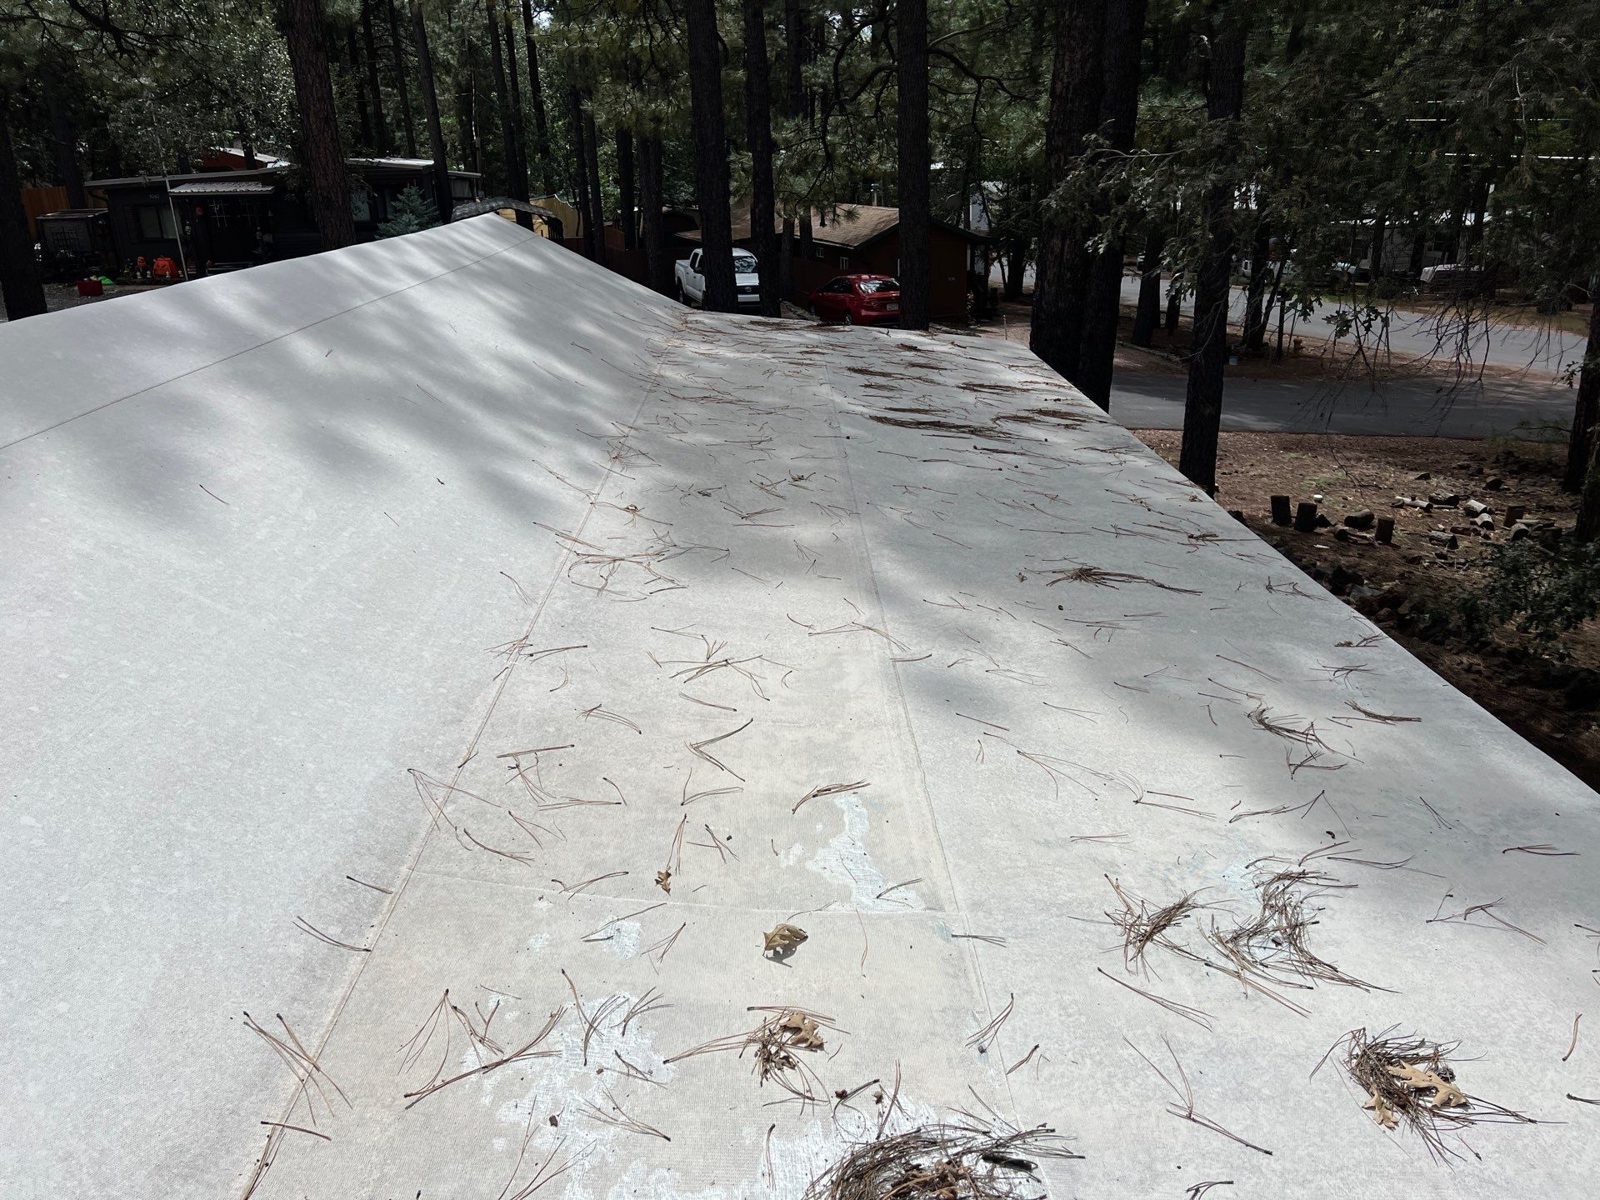
A thorough post-storm inspection serves two purposes: it tells you what you’re dealing with, and it builds the evidentiary record your insurance claim will depend on. Do both at the same time.
Safety first
- Never access the roof alone. Have a second person on the ground.
- Use a properly rated ladder secured at the top and base.
- Wear rubber-soled shoes and avoid the roof entirely if it’s wet, icy, or if you can see obvious structural damage.
- If you spot large punctures or areas of standing water over damage zones, stay off the roof and call a professional immediately.
Inspection checklist
- Field membrane: Walk a grid pattern and mark every visible impact with chalk or a non-damaging marker. Count impacts per 100 sq ft in representative zones.
- Seams and laps: Check for lifted edges, separation, or fractures at welded seams. Hail stress can open seams that were already marginal.
- Flashings and terminations: Inspect base flashings, counter flashings, and pitch pockets. These are thin and fail first.
- Penetrations: Check every pipe boot, HVAC curb, and skylight curb for cracked sealant or displaced flashing.
- Drains and scuppers: Clear debris and check for impact damage around drain collars.
- Equipment curbs: Look for dented metal and cracked membrane at curb corners.
Use an infrared thermal scanner or handheld moisture meter where possible. Infrared scans plus dielectric meter readings reveal hidden moisture that visual inspection alone will miss entirely.
Core sampling
Take core samples in areas showing bruising or suspected insulation damage. A core cut exposes whether the insulation beneath is crushed or wet, which is the single most important piece of evidence for a replacement claim. Distribute samples across damage clusters rather than concentrating them in one area.
Pro Tip: Write a brief field note for each core sample: location (measured from a fixed reference point), what you observed in the cut, and whether the insulation felt dry or damp. That note, attached to a photo of the core, is far more useful to an adjuster than a photo alone.
How hail affects insulation, R-value, and long-term performance
The membrane is the visible layer, but the insulation assembly underneath is where hail damage does its quietest and most expensive work.
Lehigh University and GAF engineering research using drop tests and finite-element modeling found that cone-shaped cracking in gypsum coverboards is a dominant failure mechanism under hail impact. Critically, this damage can occur even when the TPO membrane above remains visually intact. The coverboard cracks, the polyiso facer beneath it fractures, and the insulation begins to compress and absorb moisture, all while the roof looks fine from a ladder.
Haag Engineering’s field studies on hail-impacted roof assemblies show that dented insulation loses measurable R-value at the impact zone. Crushed polyiso or EPS no longer provides the same thermal resistance, and once moisture enters through a fractured coverboard, the degradation accelerates. A roof that passes a visual inspection may still be underperforming thermally and accumulating moisture damage that will show up as interior leaks months or years later.
| Assembly Component | Hail Damage Mechanism | Performance Consequence |
|---|---|---|
| Gypsum coverboard | Cone-shaped cracking, internal fractures | Loss of structural support; moisture pathway |
| Polyiso insulation | Facer damage, compression | R-value reduction at impact zones |
| EPS insulation | Crushing, cell collapse | Permanent thermal loss; moisture retention |
| TPO membrane | Fractures, punctures, bruising | Water entry; accelerated UV degradation at stress points |
Delayed detection compounds every one of these problems. A roof that sustains hail damage in June and isn’t inspected until fall has had months for moisture to migrate laterally through the insulation. What might have been a targeted repair in July becomes a partial or full replacement by October. Seasonal inspection schedules, particularly after any storm producing hail above 1 inch, are the single most effective way to keep repair costs from escalating.
Moisture intrusion from hail damage also creates conditions for water damage in commercial roofs that extend well beyond the roof assembly itself, including interior ceiling damage, mold risk, and compromised structural decking.
Patching vs. full replacement: how to make the right call
The repair-vs-replace decision is where property owners most often make costly mistakes, usually by patching when replacement is the correct answer.
When patching is appropriate
A heat-welded patch is a legitimate repair when:
- The damage is limited to a small number of isolated punctures or fractures
- The surrounding membrane is in good condition (no widespread UV embrittlement, no seam failures)
- Core samples confirm the insulation is dry and structurally sound
- The membrane is not approaching the end of its service life
Correct patch procedure matters. Surface preparation and moisture verification are non-negotiable: the substrate must read at or below 5% relative humidity before bonding. Hot-air welding for 60mil patches runs at 350–380°F; roll immediately at 30–40 psi for approximately 15 seconds. Round all patch corners before welding — square corners concentrate stress under thermal cycling and are a common source of future seam failure.
Replacement triggers
Replacement is the correct call when any of the following are present:
- Saturated insulation confirmed by core samples or moisture scanning
- Widespread seam failure across multiple zones
- Severe membrane shrinkage pulling flashings away from walls or curbs
- Damage density exceeding a moderate number of impacts per 1,000 sq ft across the field membrane
- Multiple adjacent impact zones that compromise long-term watertightness
- Membrane age over 15–20 years with documented UV embrittlement
The lifecycle cost reality
Patches typically cost substantially less than full replacement up front. That number looks good until you factor in that patched areas carry higher future failure rates, particularly on older assemblies where the surrounding membrane is already degraded. For a building with a 10-year-old 45mil membrane and widespread bruising, patching is often the more expensive choice over a five-year horizon.
The repair or replace decision should always be made with a written scope from a contractor who has done core sampling, not from a visual inspection alone.
Pro Tip: Ask your contractor for a written statement on membrane condition and insulation moisture status before agreeing to a patch scope. If they can’t provide it, that’s a signal to get a second opinion.
Comparison: patch vs. full replacement
| Factor | Patch Repair | Full Replacement |
|---|---|---|
| Upfront cost | Lower (roughly 60% less) | Higher |
| Long-term failure risk | Higher on aged membranes | Lower; new warranty clock starts |
| Insurance outcome | Carrier may prefer patching | Documented insulation damage supports replacement |
| Appropriate when | Isolated damage, dry insulation, sound membrane | Saturated insulation, seam failure, high damage density |
| Warranty coverage | Limited; workmanship only | Full manufacturer + contractor warranty available |
Filing an insurance claim for TPO hail damage
Documentation is the difference between a patch settlement and a full replacement settlement. Carriers default to the least expensive scope; your job is to make the insulation damage undeniable.
Documentation checklist
- Multi-angle photos of every impact site, with timestamps and scale references
- A roof-plan sketch or aerial image with damage zones marked and impact counts per section
- Core sample photos with written field notes (location, insulation condition, moisture observation)
- Moisture meter and infrared scan readings, logged by zone
- Contractor scope referencing FM 4470 and UL 2218 criteria
- Weather data confirming hail size and time of event (NOAA storm reports or a hail verification service)
- At least two contractor estimates with line-item breakdowns
What carriers look for and how to respond
Adjusters are trained to prefer patching. The counter to that is documented insulation damage. Commercial claims with 50+ impact points that include core samples average 18% higher settlement values than claims without that documentation. That gap exists because carriers have a much harder time justifying a patch scope when the insulation is demonstrably wet or crushed.
Common adjuster objections and how to address them:
- “The membrane is intact.” Counter with core sample evidence showing coverboard fractures and insulation compression.
- “This looks like normal wear.” Counter with storm date, hail verification data, and the pattern of impacts (hail creates a density map; wear does not).
- “We’ll authorize a patch.” Counter with a written contractor statement that patching is not appropriate given insulation saturation or seam condition.
Typical timeline and cost drivers
| Phase | Typical Duration |
|---|---|
| Adjuster visit after notification | 1–3 weeks |
| Scope review and approval | 2–4 weeks |
| Contractor scheduling | 1–4 weeks depending on season |
| Repair or replacement completion | 1–5 days for most commercial roofs |
Cost drivers that push totals higher: saturated insulation requiring full tear-off and replacement, multiple penetrations with custom flashing work, complex parapet details, and re-roofing over existing layers that turn out to be non-compliant.
How to reduce hail risk on your TPO roof going forward
The best time to address hail vulnerability is before the next storm, not after.
Upgrade options
- Thicker membranes: Specify 60mil or 80mil at replacement. The performance gap over 45mil is real and well-documented.
- UL 2218 Class 3 or Class 4 assemblies: Require this rating in your contractor scope and verify the specific assembly (membrane + coverboard + insulation combination) carries the rating, not just the membrane alone.
- Sacrificial coverboards: A high-density polyiso or gypsum coverboard absorbs impact energy before it reaches the insulation. This is one of the most cost-effective upgrades available.
- Reinforced flashings and penetration details: These zones fail first; specifying heavier-gauge metal and thicker membrane at transitions pays off in hail events.
Maintenance measures
- Schedule a professional roof inspection after any storm producing hail above 1 inch, not just annually.
- Keep a written inspection log with dates, findings, and photos. This log is your first line of defense in a future claim.
- Patch small impacts promptly. A 2-inch puncture costs far less to fix in week one than after a winter of moisture migration.
- Keep rooftop equipment secured and clear of loose debris that becomes a secondary impact hazard in high winds.
Insurance and warranty considerations
Installing a UL 2218 Class 4 rated assembly can support conversations with your carrier about premium adjustments. More practically, maintaining a documented inspection log makes future claims cleaner and faster. Carriers are less likely to dispute causation when you can show a pre-storm inspection that confirmed the roof was in good condition.
Pro Tip: Ask your roofing contractor to provide a written post-installation report confirming the assembly’s UL 2218 rating and the specific products installed. File it with your insurance policy documents. That report can cut weeks off a future claim.
When should you hire a professional roofer or engineer?
Some post-storm situations call for a quick owner inspection and a phone call. Others require a forensic-level assessment. Here’s how to tell the difference.
Clear triggers for professional engagement
- Any visible puncture in the membrane field or at flashings
- Interior leaks or ceiling staining that appeared after the storm
- Pooled water sitting over zones with visible bruising
- Impact density above roughly 10–15 visible impacts per 1,000 sq ft in any zone
- Any sign of seam separation or lifted membrane edges
- A membrane that has sustained visible impacts and is aged
What a qualified TPO hail inspection should include
A credible professional inspection goes well beyond a visual walkover. Expect:
- Aerial and ground-level photography covering the full roof field, all perimeter zones, and every penetration
- Infrared thermal scan to identify moisture-laden insulation zones invisible to the naked eye
- Dielectric meter readings logged by zone with a written record
- Core samples at 5–10 locations distributed across damage clusters, with photos and written notes for each
- A written report referencing FM 4470 and UL 2218 criteria, with a clear repair-vs-replace recommendation backed by the physical evidence
- Damage density mapping showing impact counts per roof section
The difference between a quick visual check and a forensic inspection is the difference between a patch authorization and a full replacement settlement. Well-documented inspections with photos, timestamps, core samples, and written logs referencing FM/UL standards materially increase the likelihood of a replacement determination because carriers have to justify patching when insulation damage is documented.
Sladeroof’s inspection process is built around this standard. If you’re seeing signs that your roof needs professional attention, don’t wait for the next rain event to confirm it.
Pro Tip: Request that your inspector provide GPS coordinates or measured distances for each core sample location. This makes it possible to re-locate those exact spots if a second inspection or a dispute arises.
Key Takeaways
TPO hail damage is often worse than it looks at the surface, and the documentation you gather in the first 48 hours determines both your repair scope and your insurance outcome.
| Point | Details |
|---|---|
| Hail functionally impairs TPO | Punctures, fractures, and insulation crushing can occur even when the membrane looks intact. |
| Document within 48 hours | Timestamped photos, impact counts, and core samples are the foundation of any successful claim. |
| Membrane thickness changes outcomes | 60mil TPO shows significantly lower failure rates than 45mil under comparable hail impacts. |
| Patches are temporary on compromised assemblies | Saturated insulation or widespread seam failure requires full replacement, not patching. |
| Sladeroof provides forensic-grade inspections | Sladeroof’s inspection process includes core sampling, moisture scanning, and written reports tied to FM 4470/UL 2218 standards. |
The case for engineering your repairs, not just making them
Most property owners find out their TPO roof has a problem when water shows up inside. By that point, the damage has usually been compounding for months. What I see repeatedly in the field is that the gap between a manageable repair and a full replacement almost always comes down to one thing: how quickly the damage was documented and how thoroughly.
The insurance claim process rewards specificity. An adjuster who receives a photo set, a moisture scan, and a written report with core sample evidence has very little room to argue for a patch when the insulation is demonstrably wet. The same damage, documented with a few phone photos and a verbal description, almost always results in a patch authorization that fails within two seasons.
There’s also a longer-term argument for engineering the repair rather than just closing the hole. A 60mil membrane installed over a sacrificial coverboard on a properly prepared substrate, with flashings detailed to handle the next hail event, is a fundamentally different asset than a patched 45mil roof with marginal seams. The upfront cost difference is real. So is the difference in what you’ll spend over the next decade.
Sladeroof’s inspection and repair process for hail-damaged TPO roofs
When a hail event hits your property in Idaho, Arizona, or Wyoming, the window for clean documentation is short. Sladeroof’s process starts with an emergency inspection that covers the full roof field, all penetrations, and every flashing detail, with infrared scanning and core sampling included as standard, not as an add-on.

What you get from that inspection is a written report referencing FM 4470 and UL 2218 criteria, a damage density map, and a clear repair-vs-replace recommendation backed by physical evidence. That report is built to hold up in front of an adjuster. Sladeroof’s team then works directly with your carrier through the insurance claim process, handling the documentation, the scope justification, and the contractor estimates so you’re not navigating that alone.
Repairs and replacements come with a 25-year leak warranty and a 50-year product warranty. Before you call, have your policy number, the storm date, and any photos you’ve already taken ready. To schedule an inspection or get a quote for commercial roofing services, contact Sladeroof directly.
Useful sources and further reading
The sources below are the most authoritative references for TPO hail damage assessment, repair standards, and insurance documentation.
For property owners and facility managers (insurance documentation focus):
- Hail Impact Performance of Thermoplastic Single-Ply Membranes — Forensic survey of actual TPO and PVC membrane performance after hail events in Texas; the most directly applicable field-performance data available.
- Hail Effects on Roof Insulation | TPO Membrane — Haag Engineering’s case study on R-value loss from hail-induced insulation denting; useful for supporting replacement claims.
- TPO & EPDM Hail Damage: Prove Functional Impairment — Practical guidance on documenting functional impairment for commercial claims.
For technical readers (engineering and standards):
- Understanding Impact Damage on Single-Ply TPO Membrane Roofing — Lehigh University and GAF experimental and modeling work on coverboard cone-cracking and membrane failure mechanisms.
- Hail Damage on TPO Roofs: Identification and Repair Guide — Practical identification and repair reference for contractors and facility managers.
- What size of hail will damage a TPO roof? — Field-oriented breakdown of hail size thresholds and membrane vulnerability.
| Source | Best For | Focus Area |
|---|---|---|
| ASCE/Plastics Engineering (Lehigh/GAF) | Engineers, forensic inspectors | Coverboard failure mechanisms, modeling data |
| Haag Engineering case study | Property owners, adjusters | R-value loss, insulation damage evidence |
| JustClaims.ai functional impairment guide | Property owners filing claims | Documentation strategy, adjuster objections |
| Paramount Building Inc. repair guide | Facility managers, contractors | Visual identification, repair procedures |
| McCann’s hail size guide | Property owners | Size thresholds, field vulnerability |
Recommended
Ready for a real answer on your roof?
Slade Roofing pairs licensed insurance agents with licensed roofers. Get your free inspection in about 30 seconds.
Get My Free Inspection →